A mask is a part of the photo with its own edits. In the editor, open the Masks tool and tap New mask. A photo with no masks yet opens straight onto the choices. Found in this photo shows only the areas Chobial detected, such as Subject, Sky, Background, People and each Face. When Chobial finds separate things in the photo, Tap an Object is there too. Tap it, then tap a thing on the photo to select it. Draw or pick has Brush, Linear, Radial, Color and Luminance. Chobial finds these areas on your phone or iPad.
On Android, Chobial uses Google's ML Kit to find the areas. Its models download to the phone the first time, and until then some areas can be missing. Android shows People only when it also finds a face in the photo.
Each mask has two tabs. Adjustments is a row of settings with one ruler. Pick a setting, such as Exposure, Highlights or Saturation, and slide the ruler. Effect strength, at the end, sets how much of the mask's edits apply. Selection lists the areas the mask is made of.
Sky mask: bring back a white sky
In this lake at dusk, the sky has gone white. The clouds are usually still in the RAW file, in the brightest highlights. A sky mask edits them without darkening the water and trees.
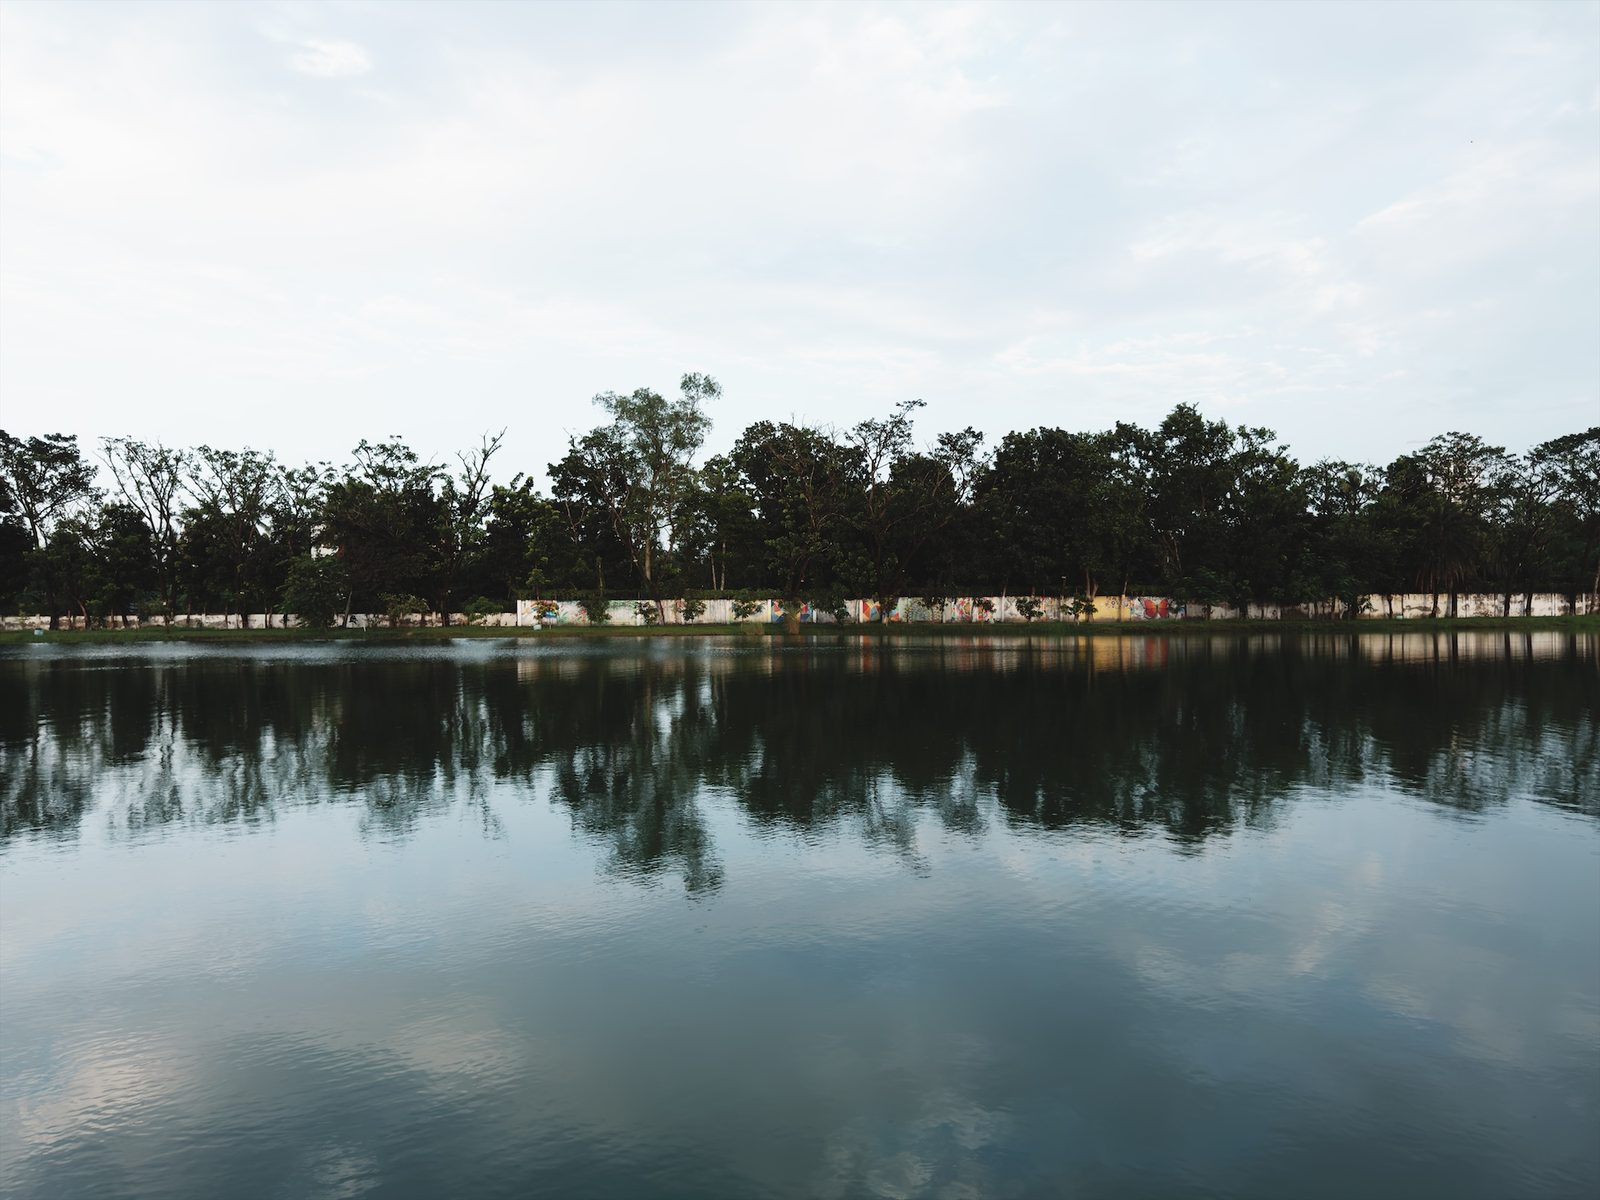
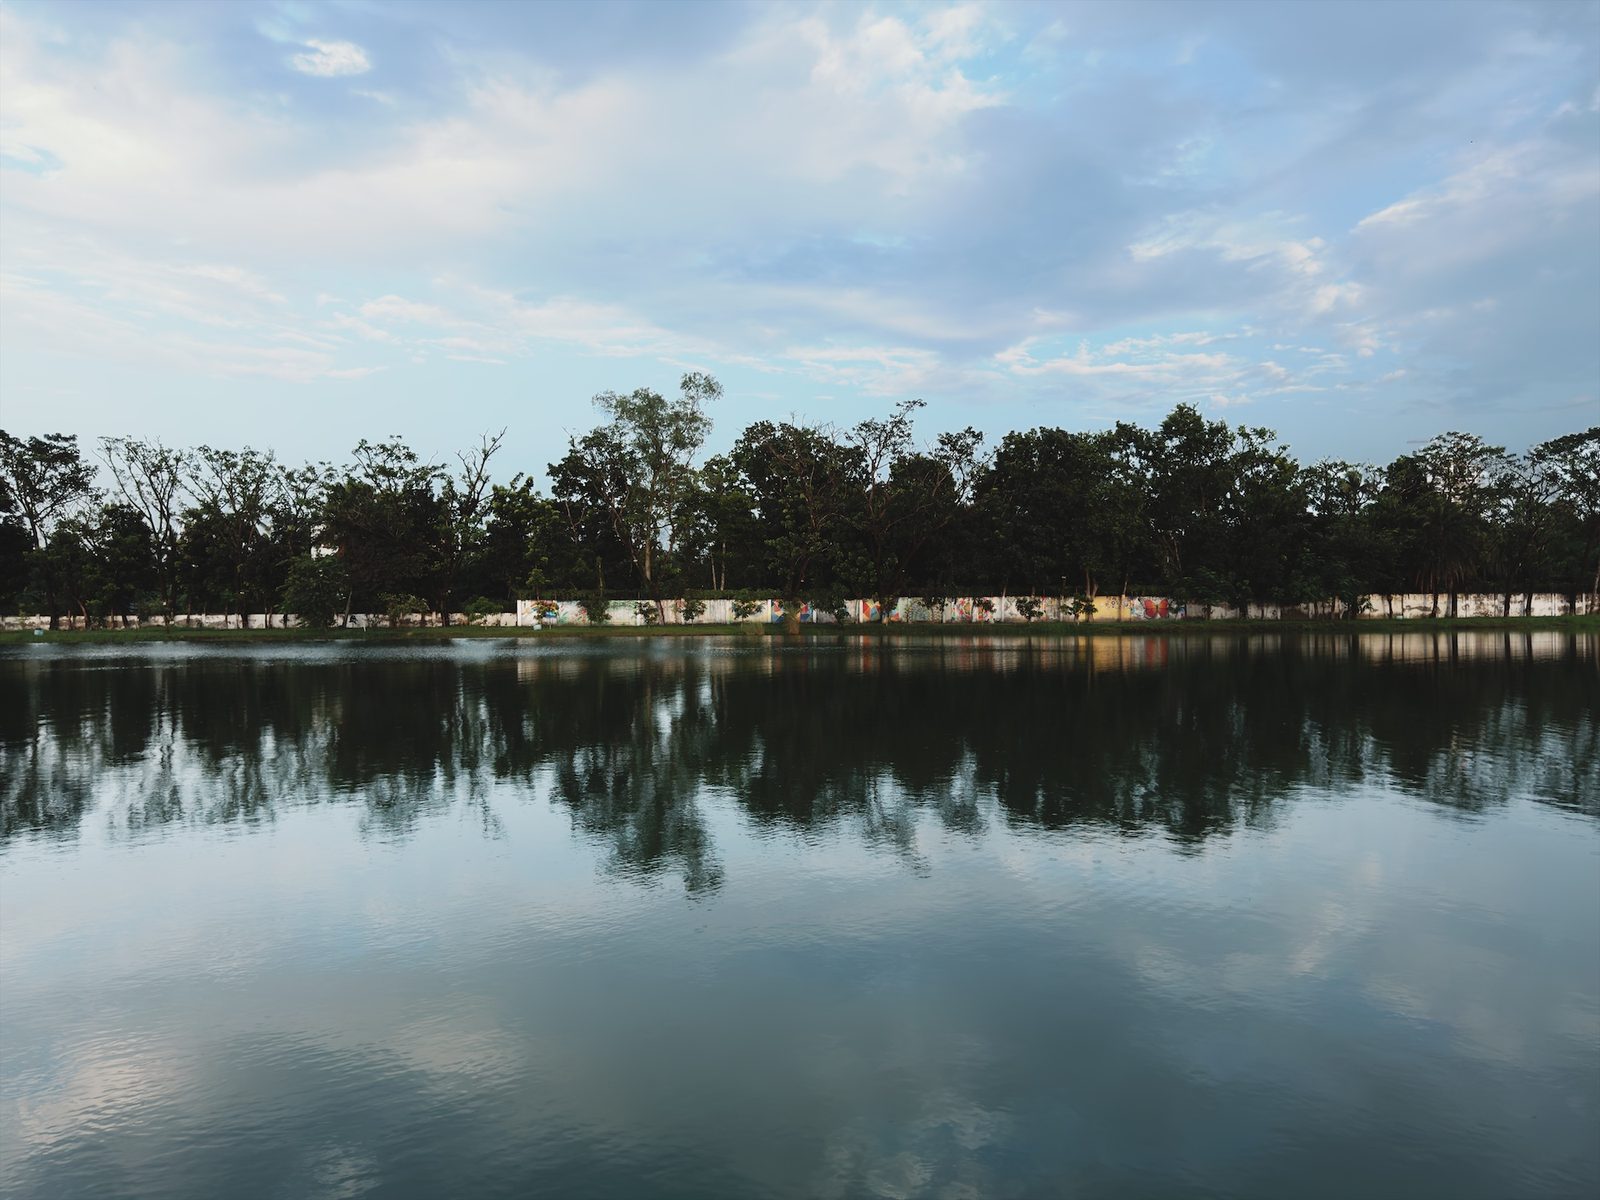
- Open the photo in the Library and tap the edit button.
- Choose the Masks tool and tap New mask. The first time, the tiles take a second to appear while Chobial looks at the photo.
- Tap Sky. If Chobial found no sky, it doesn't offer Sky.
- To see what the mask covers, tap the layers button at the top of the panel. The sky turns red.
- Set the sliders on the Adjustments tab.
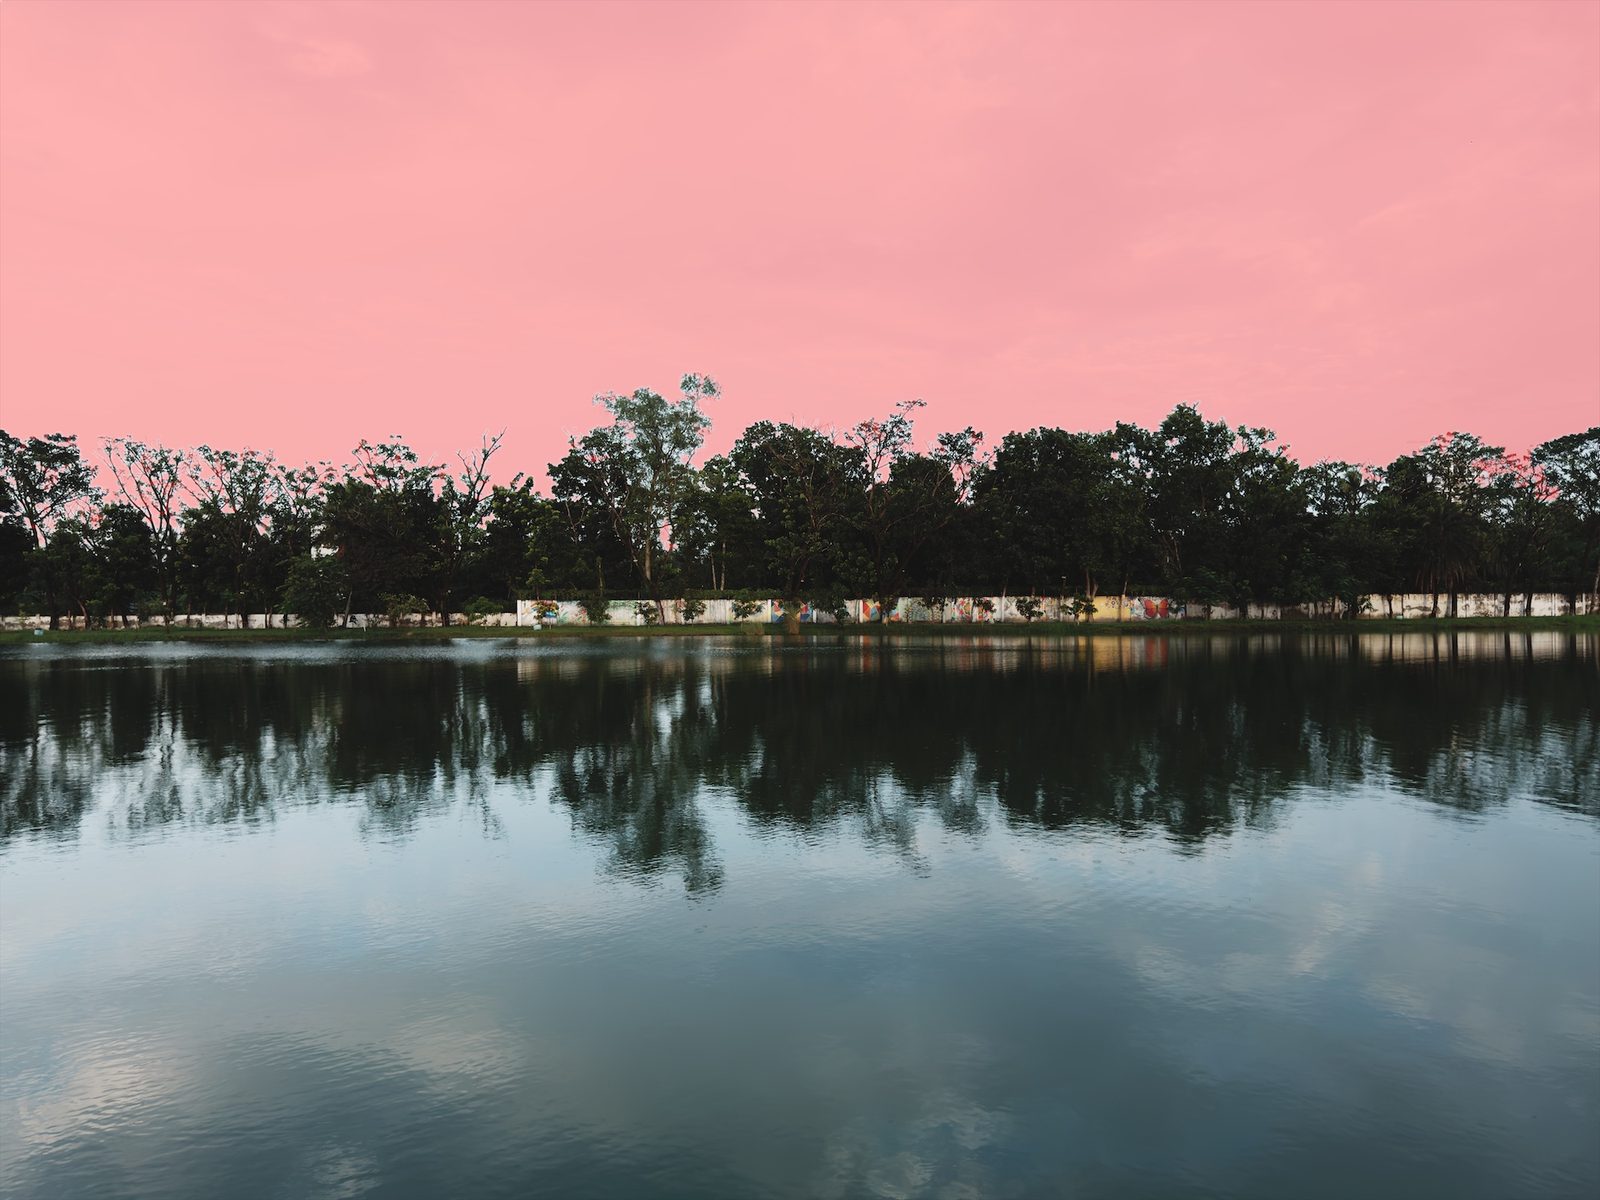
When you export, Chobial refines the edge at full resolution, so thin branches still look clean.
| Sky mask | Setting |
|---|---|
| Highlights | −100 |
| Exposure | −0.15 EV |
| Saturation | +43 |
Highlights does most of the work, because the cloud detail is in the brightest part of the sky. A small Exposure change helps the sky blend in. Saturation brings the blue back. If the sky is already partly blue, use Vibrance, which adds less to strong colours. Still a bit grey? Try Dehaze at +10 to +20.
If you see a light halo along the trees, lower Highlights a little. If the mask catches a white building, go to Selection, tap Remove and choose Brush. Then paint over the building.
Linear gradient: a graduated filter
A graduated ND filter is a piece of glass that's dark at the top and clear at the bottom. It darkens a bright sky, so you can set the exposure for the ground. A linear gradient does the same thing after you take the photo, at any angle.
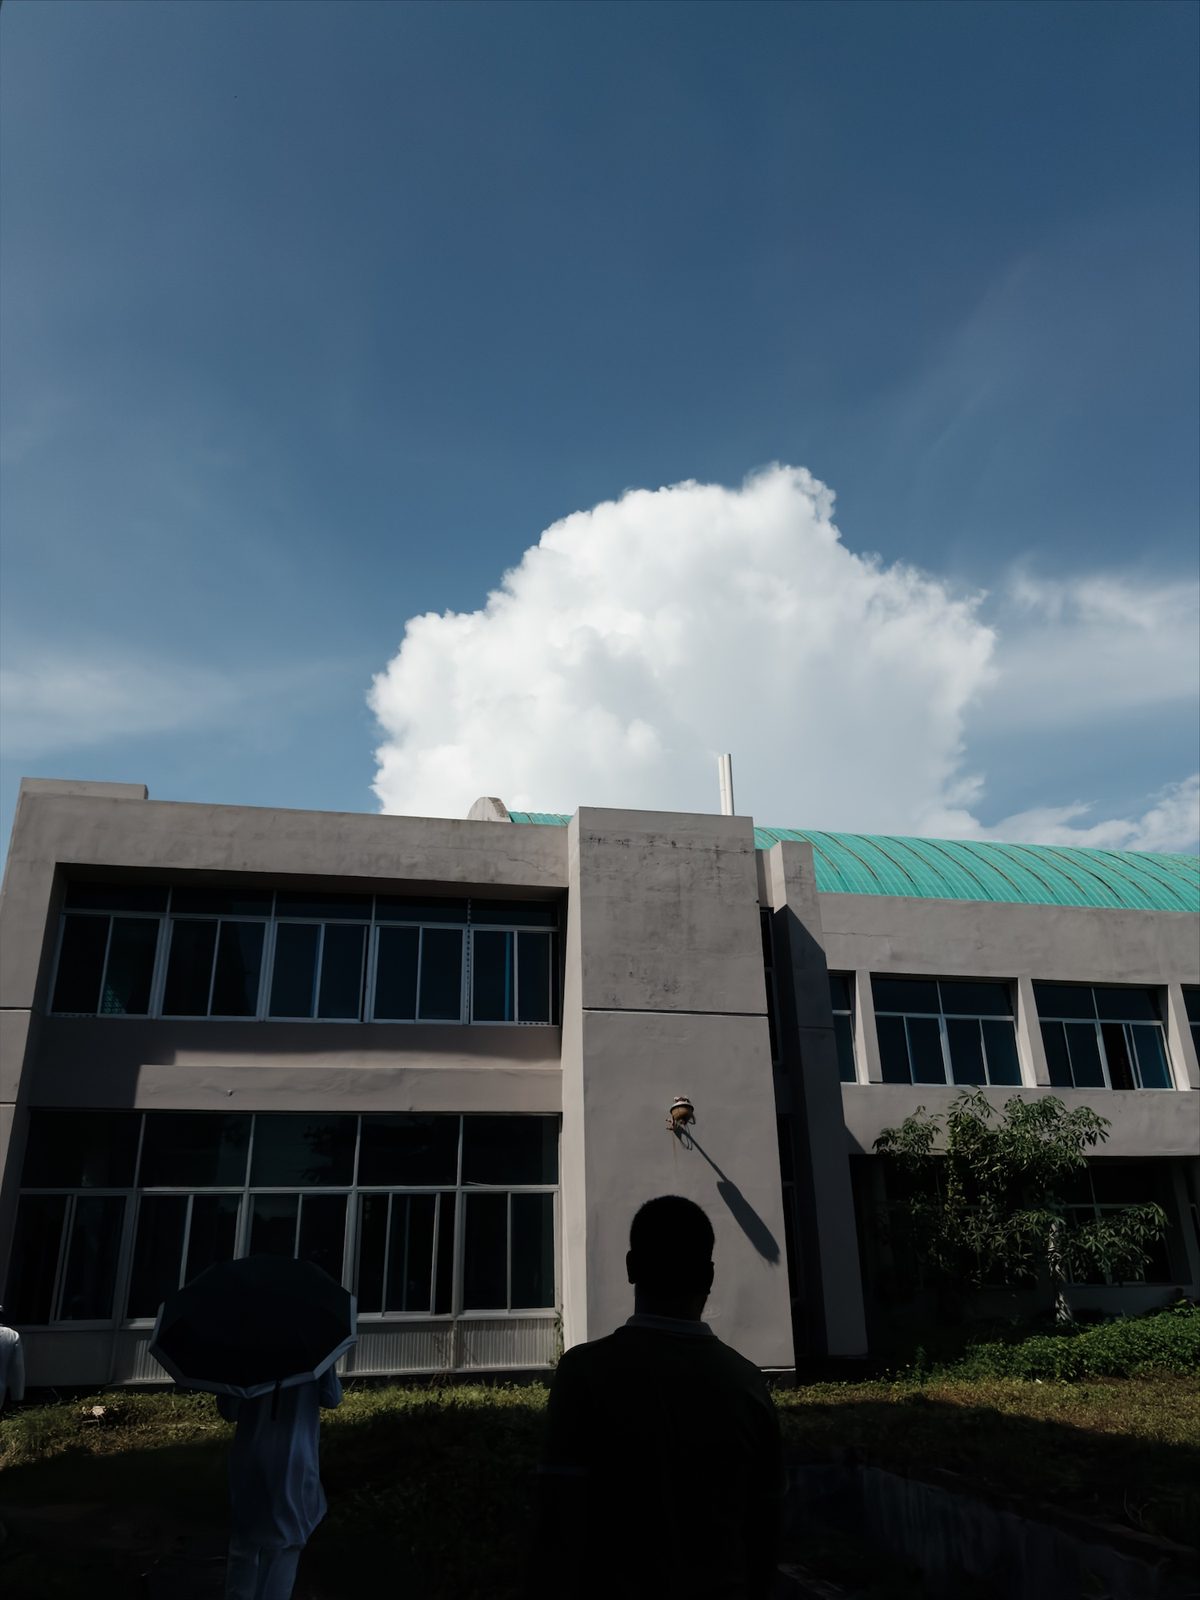
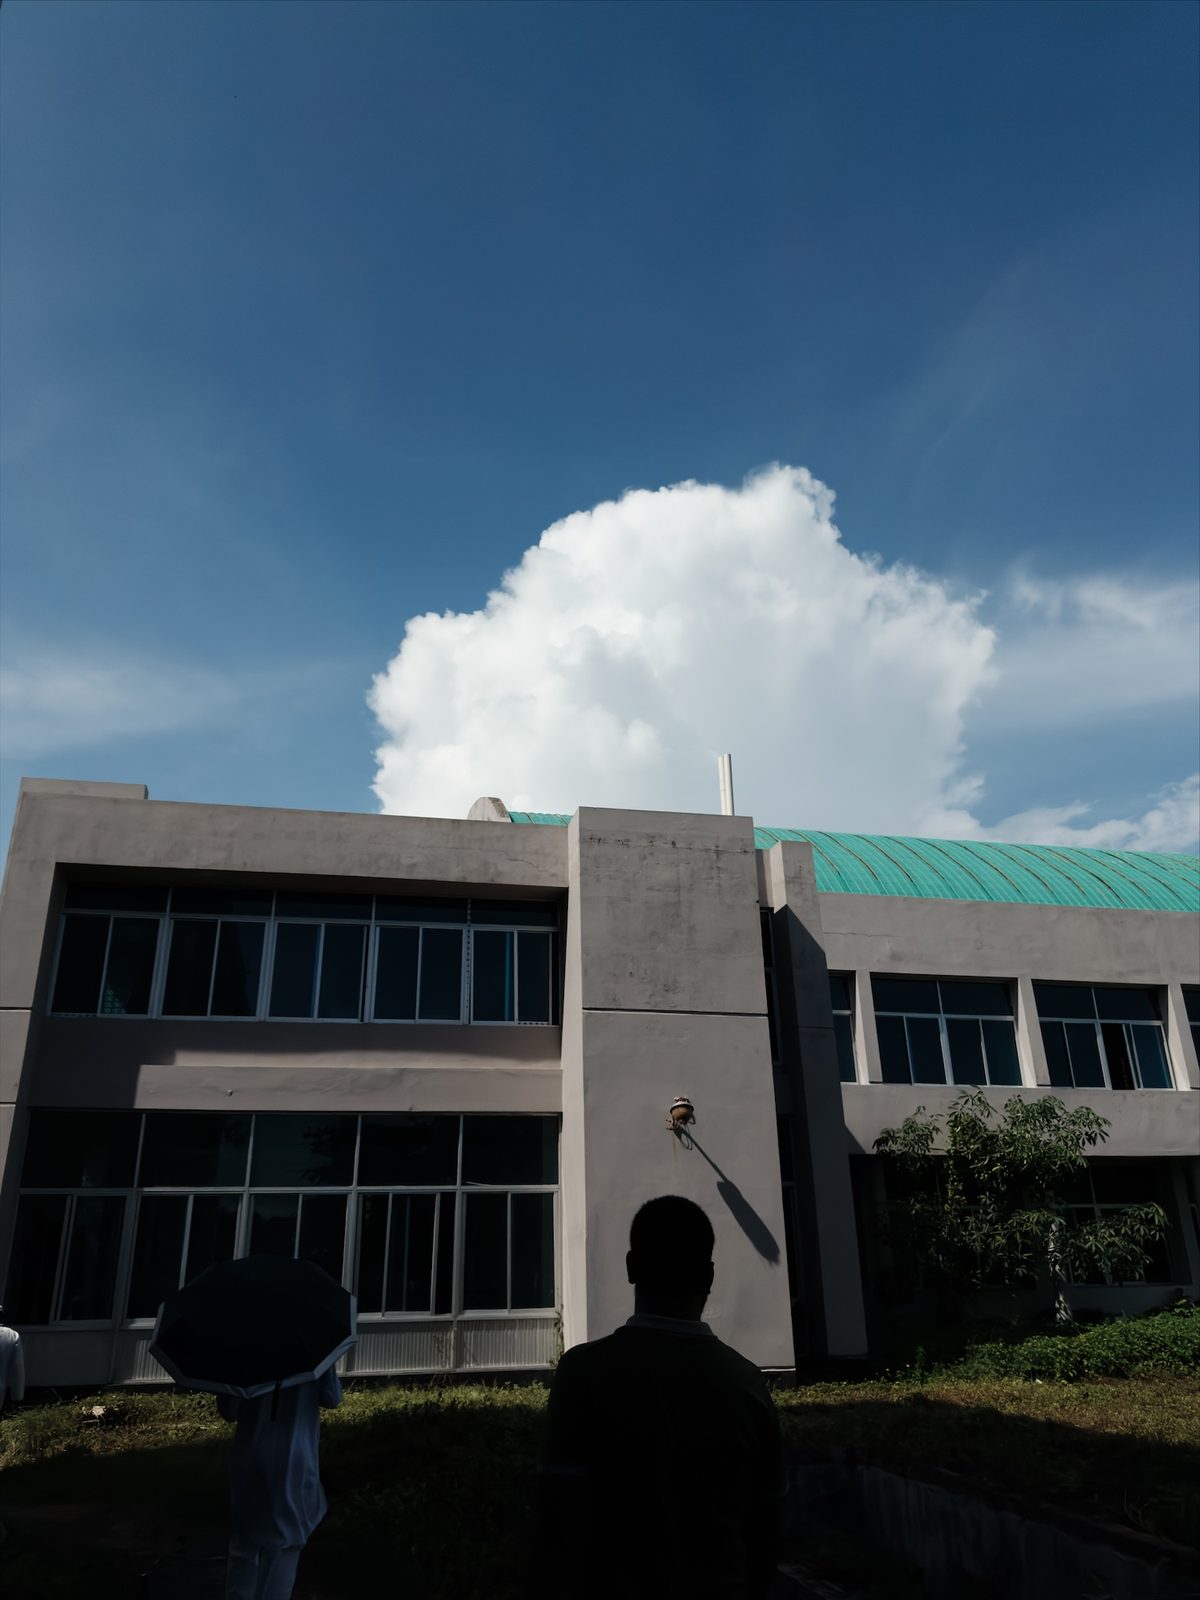
- Open the photo, tap edit and choose Masks. Tap New mask.
- Under Draw or pick, tap Linear.
- Drag on the photo. Start where you want the full effect, and stop where you want it to end.
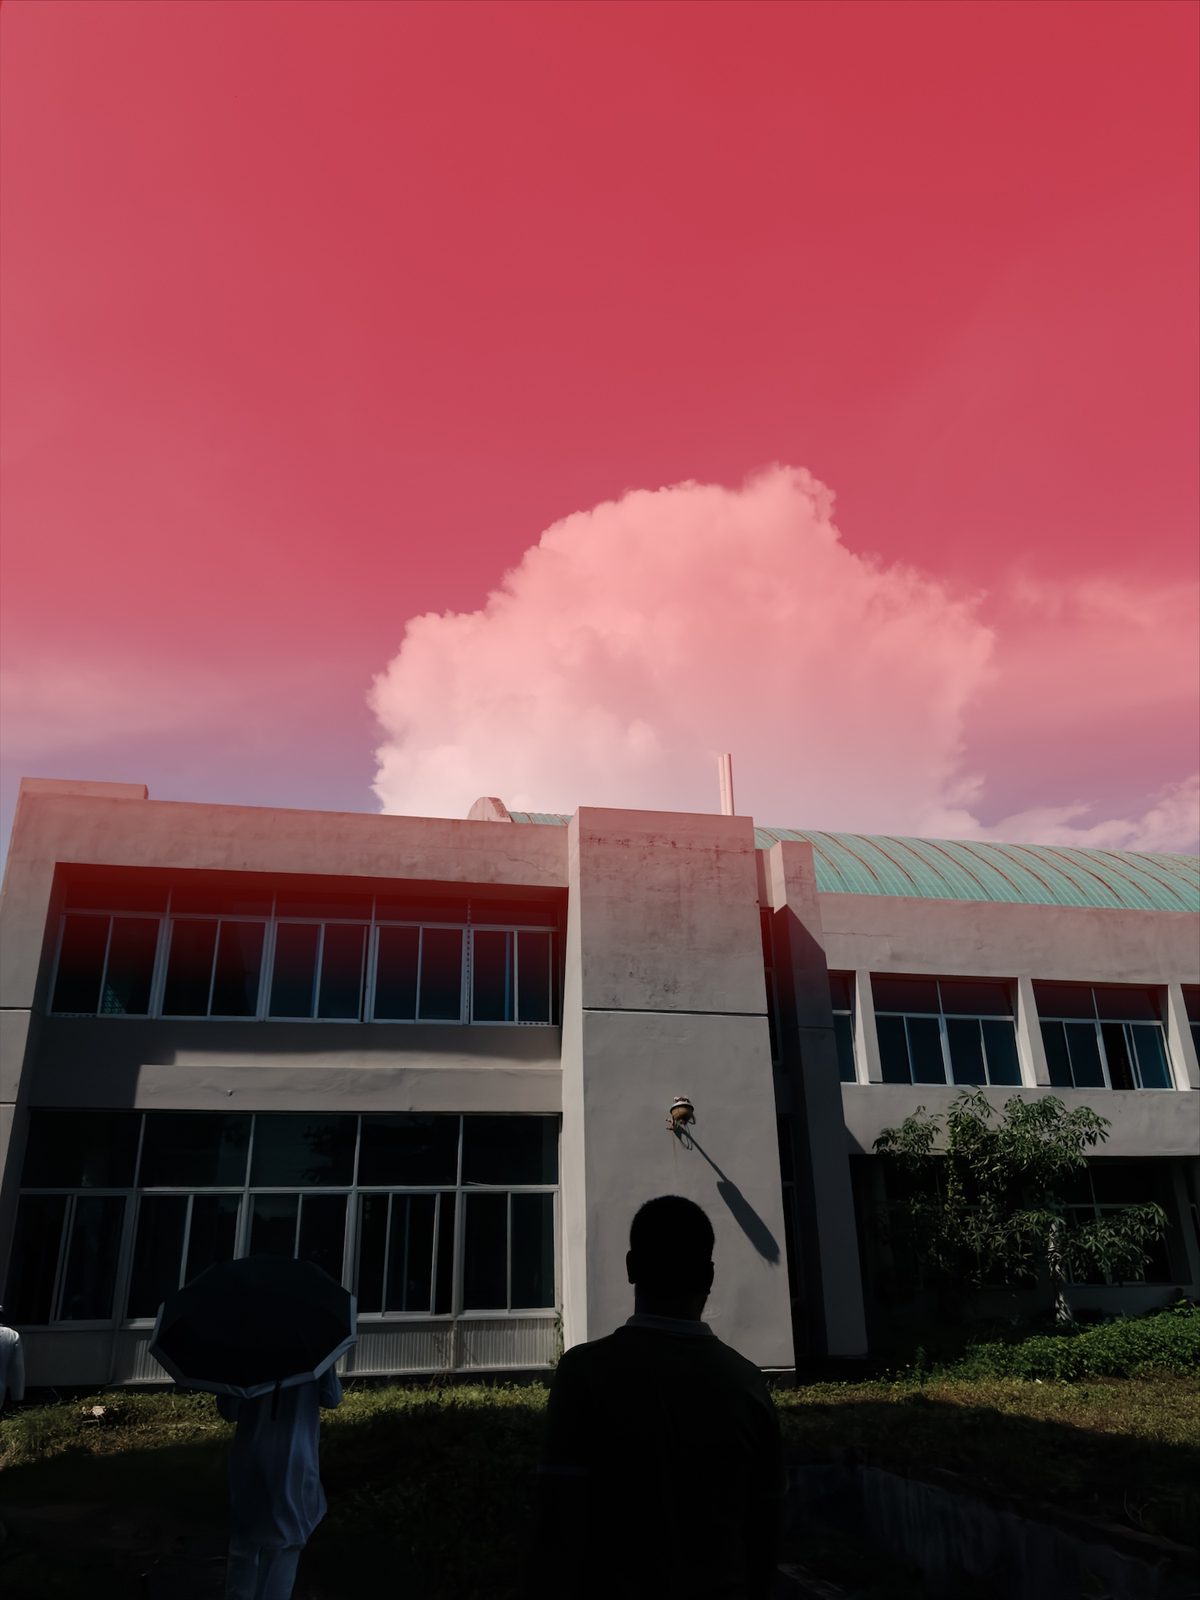
The filled handle is full strength. The hollow handle is where the effect has faded to nothing. Move them closer for a hard edge, or further apart for a soft one. The middle handle moves the whole gradient.
| Linear gradient, deeper sky | Setting |
|---|---|
| Vibrance | +25 |
| Exposure | −0.1 EV |
This photo already had a good sky, so it needed only a small change. For a bright, overcast sky, lower Highlights and Exposure instead. A gradient darkens everything in its band, including a tall tree. If the darker top shows, go to Selection, tap Remove and choose Subject.
Radial gradient: tame a bright spot
A spotlight, a lamp or a patch of sun can make one part of the frame too bright. A radial gradient selects a soft-edged oval, so you can darken that part.
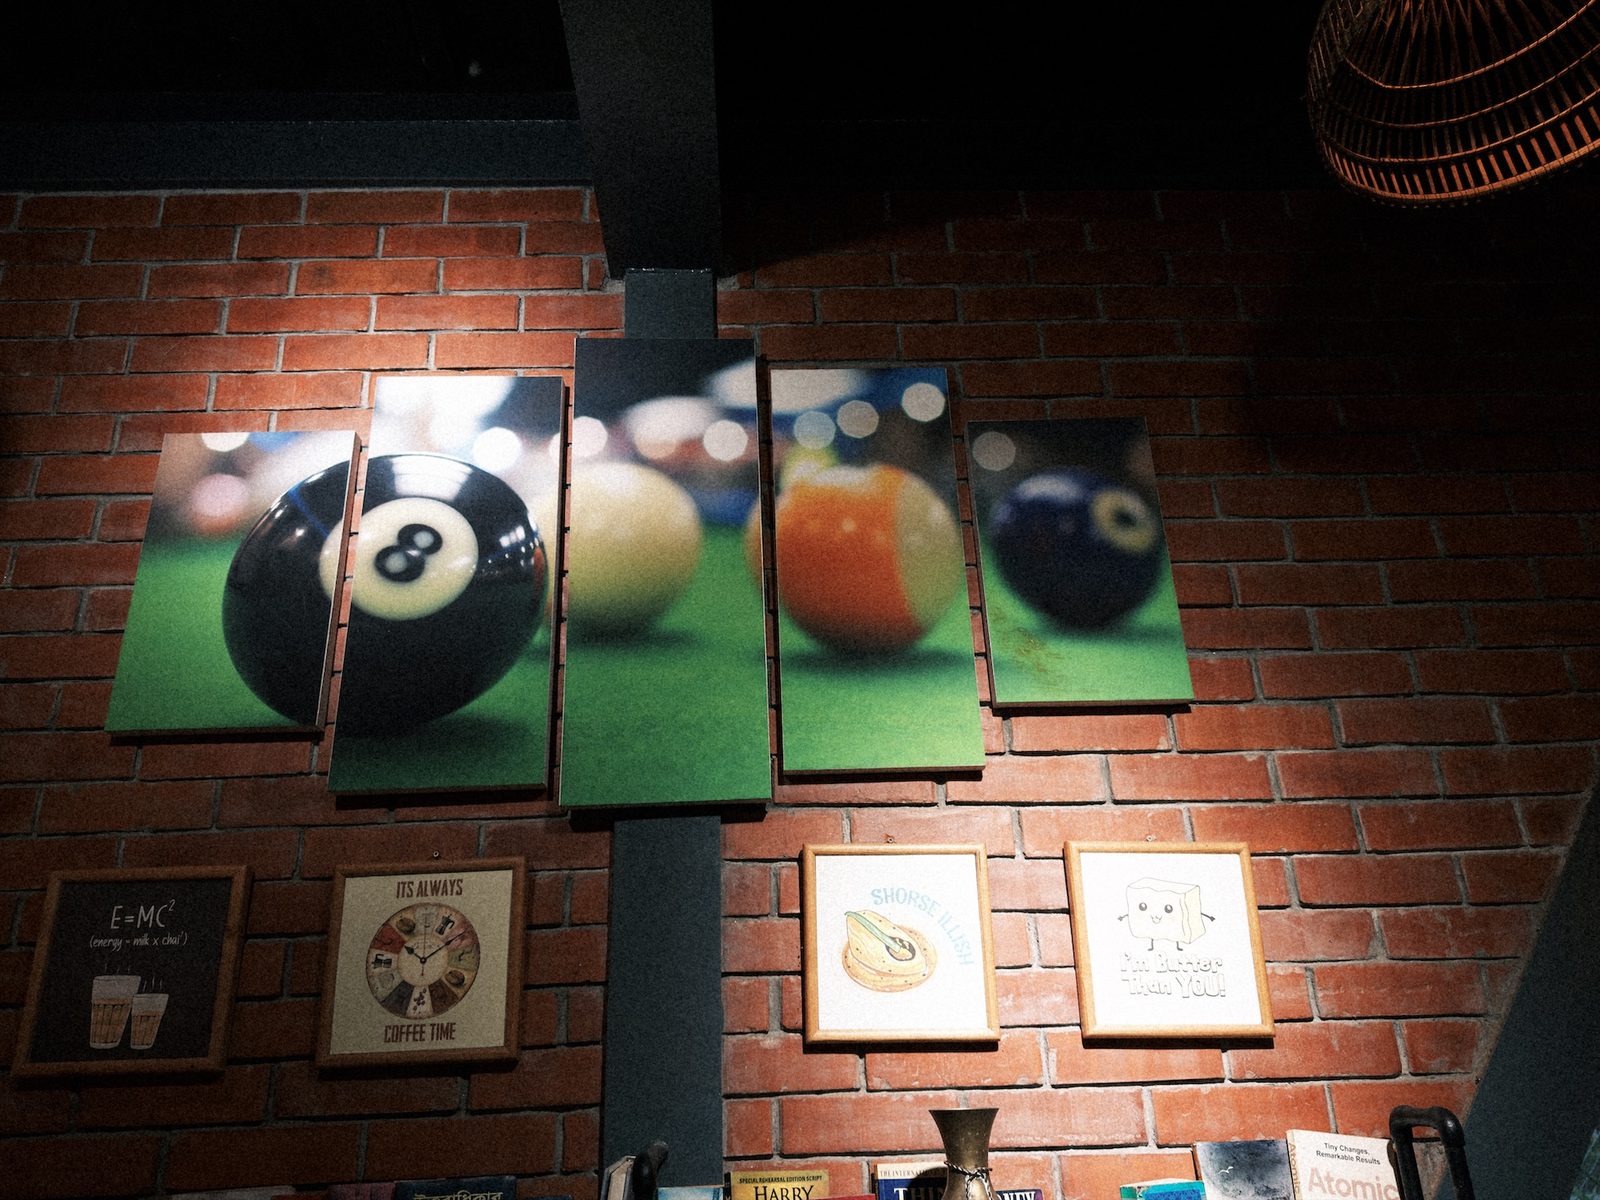
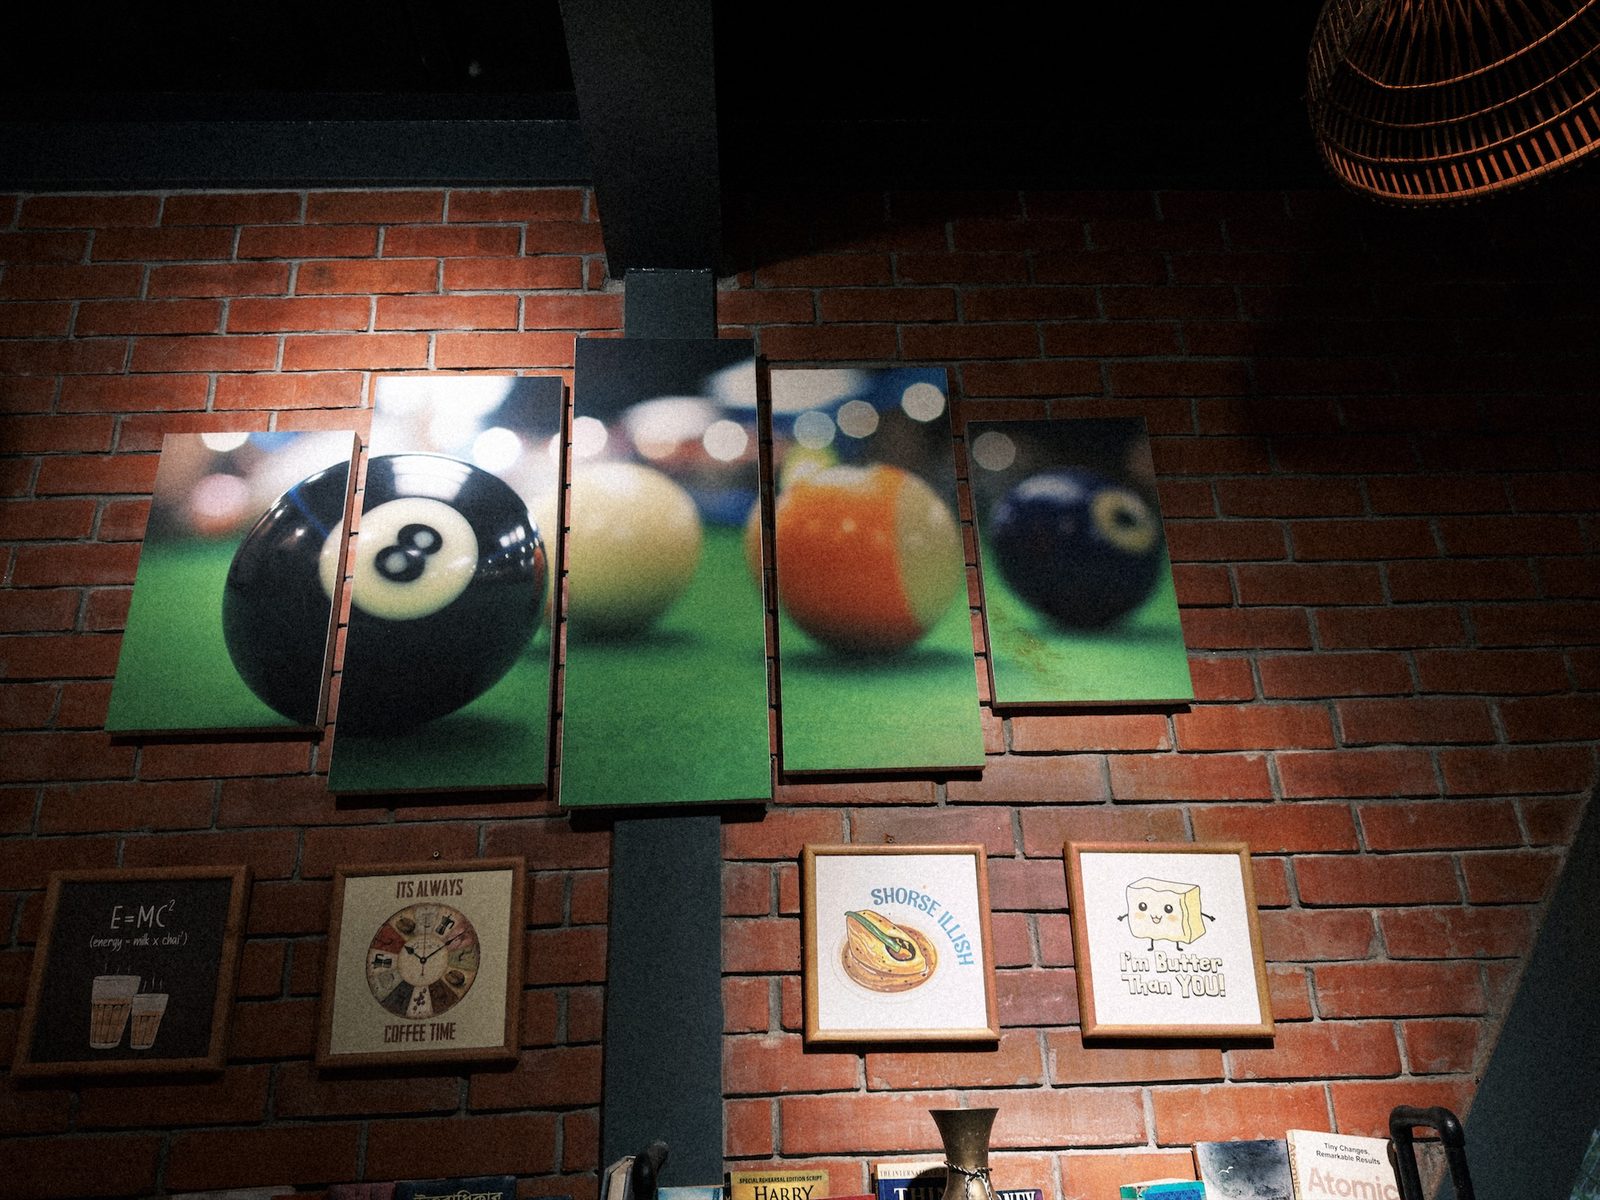
- Open the photo, tap edit and choose Masks. Tap New mask.
- Under Draw or pick, tap Radial.
- Put your finger in the middle of the bright spot and drag outwards.
- To move the oval, drag the filled centre handle or anywhere inside it.
- To shape and turn it, drag the hollow handles on its edge.
- Raise Softness to soften the edge. A pool of light has soft edges, so set Softness high.
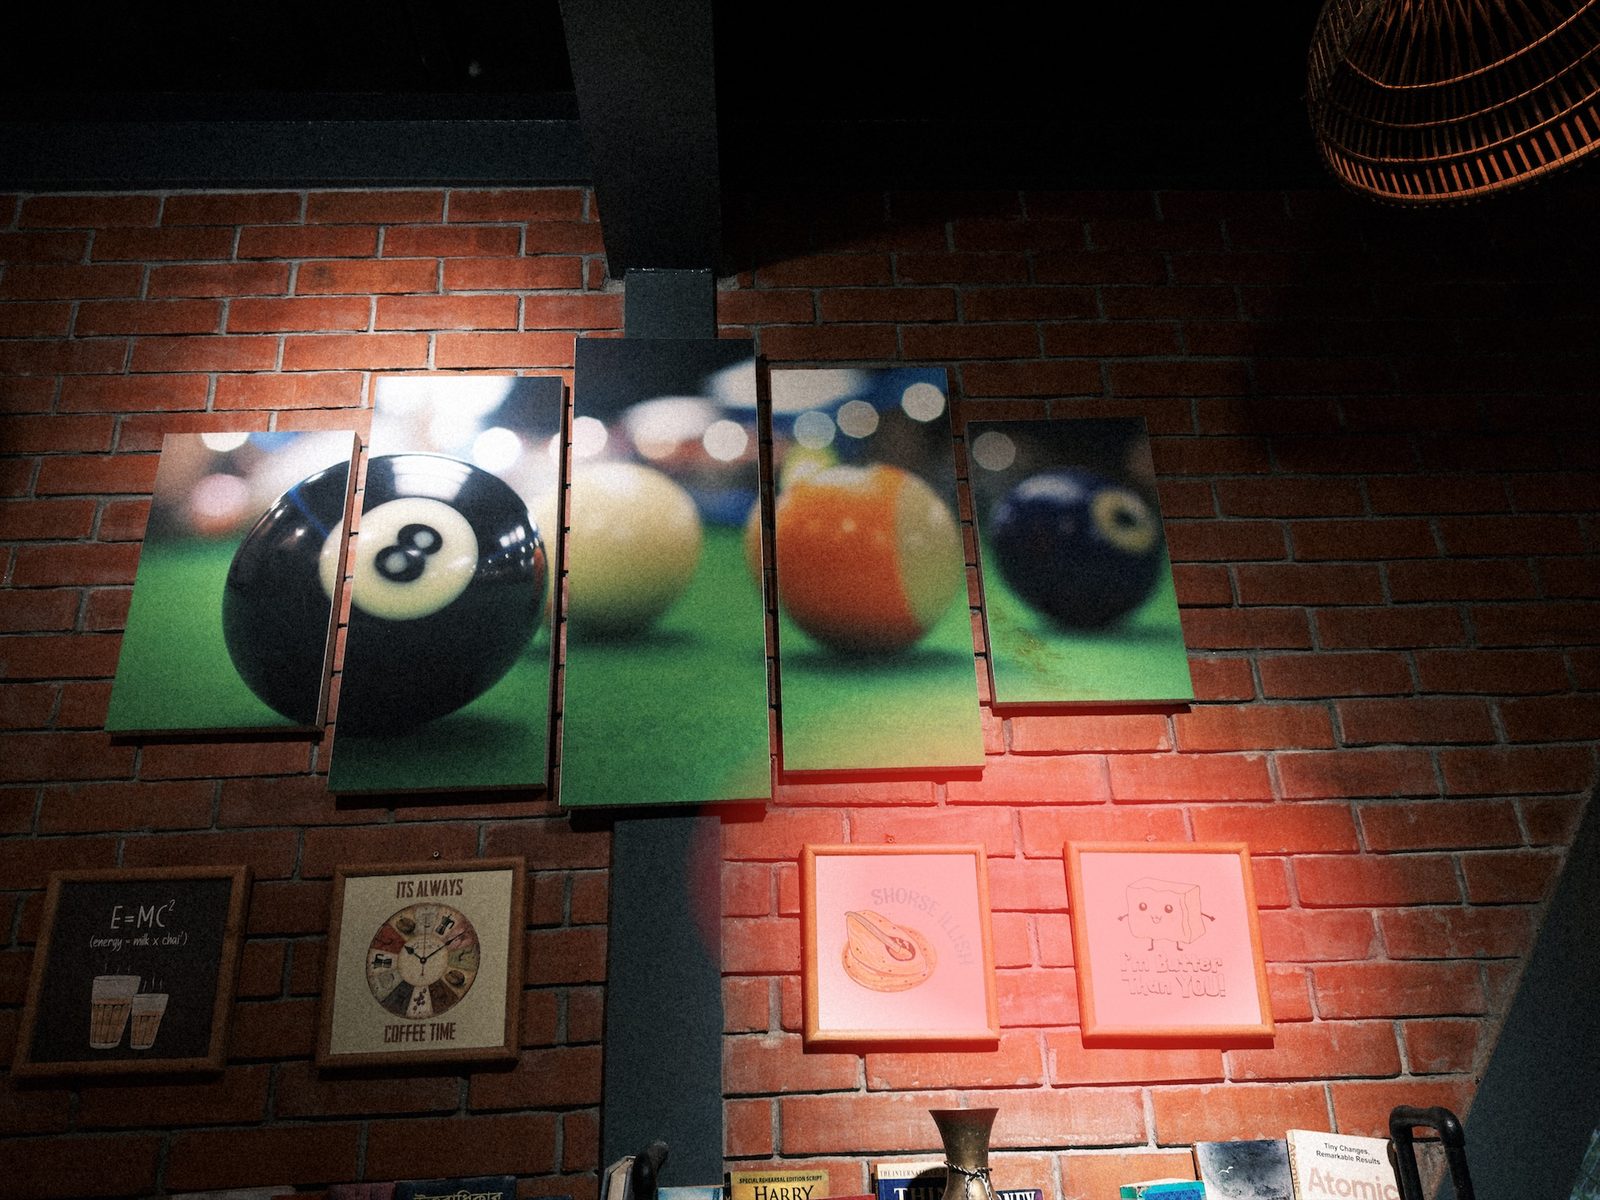
| Radial gradient, hotspot | Setting |
|---|---|
| Highlights | −100 |
| Exposure | −0.7 EV |
| Softness | 50% |
This was a strong spotlight, so these are strong settings. Highlights brings back the burnt-out paper in the frames. Exposure darkens the brick to match the wall. Chobial's Exposure works like Lightroom's and changes the mid-tones most, so the blacks don't get muddy. If you see a darker ring along the edge, raise Softness.
A radial gradient can also brighten a face Chobial didn't find. The light help page has the steps.
Brush: paint a mask by hand
- Tap New mask, and under Draw or pick, tap Brush.
- Choose Paint or Erase strokes.
- Set Size and Softness. Flow is under More brush settings.
- Paint on the photo. Clear Strokes starts over.
On the Selection tab, Add and Remove put any other area into a mask, or take it out.
Invert, turn off and compare
The ••• menu beside the layers button renames, turns off, inverts, duplicates or deletes the mask.
- Turn Effect Off: hides the mask's edits. Choose Turn Effect On to compare.
- Invert Selection: the mask covers everything except what it covered before.
- Duplicate and Invert: makes a second mask of the rest. Set an oval to Exposure +0.3, then set the inverted copy to −0.5. That gives you a vignette you can shape and move.
- See the photo with no masks: press and hold the Masks tab.
- Delete Mask: touch and hold a mask in the list.
Masks are kept against the whole photo. So they stay in place if you crop, straighten or change the film to Negative or Expedition.
Free to try
Masks work on any photo without Pro. Saving or sharing a photo with masks needs Chobial Pro. Without Pro, the photo still saves for free, but without its masks. To take out dust or wires, see heal and clone.