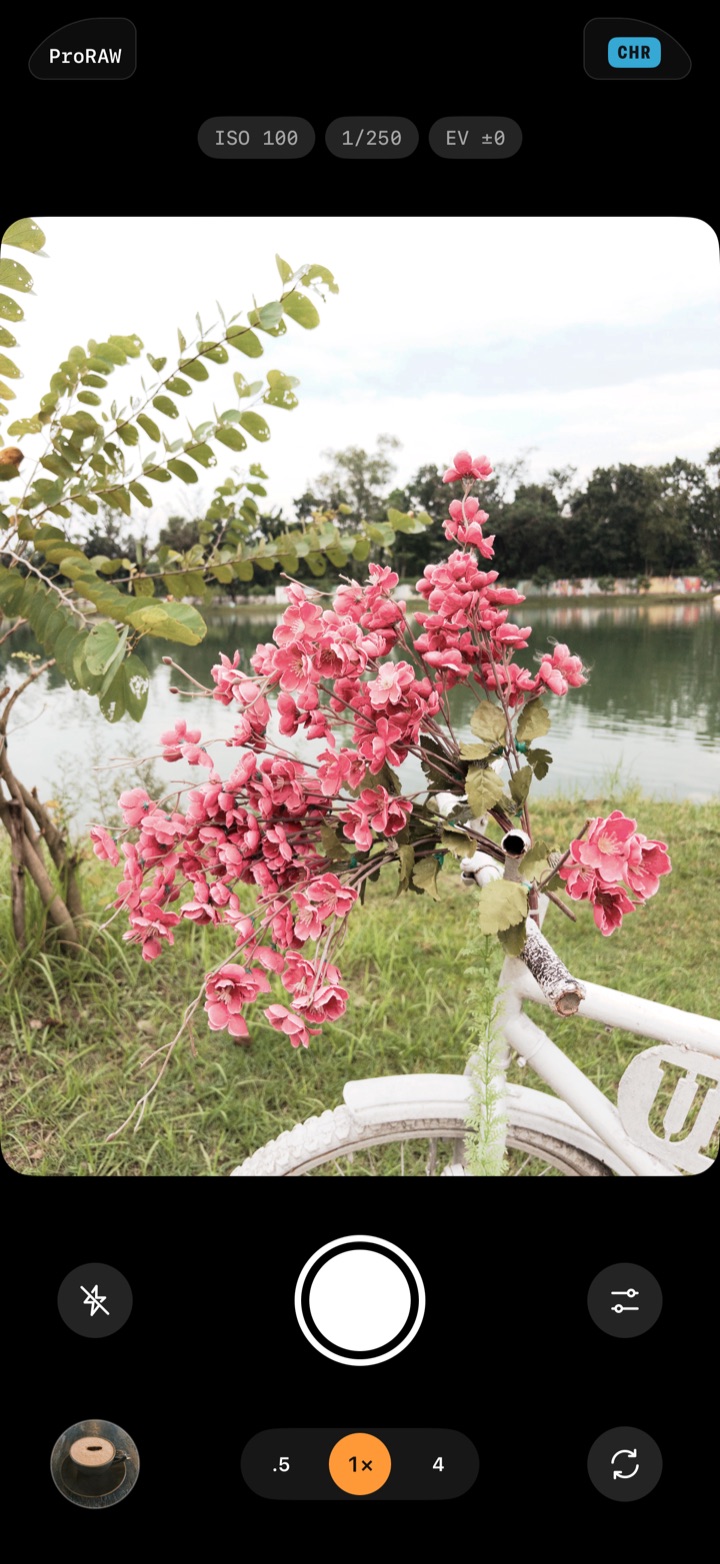
Film Look live preview
The viewfinder shows a live preview of the loaded film. There are 46 films built in, 35 in colour and 11 in black and white. You can see them all on the films page.
To change the film, swipe across the picture. Swipe left for the next film, or right for the one before. Its name and what it suits show for a moment.
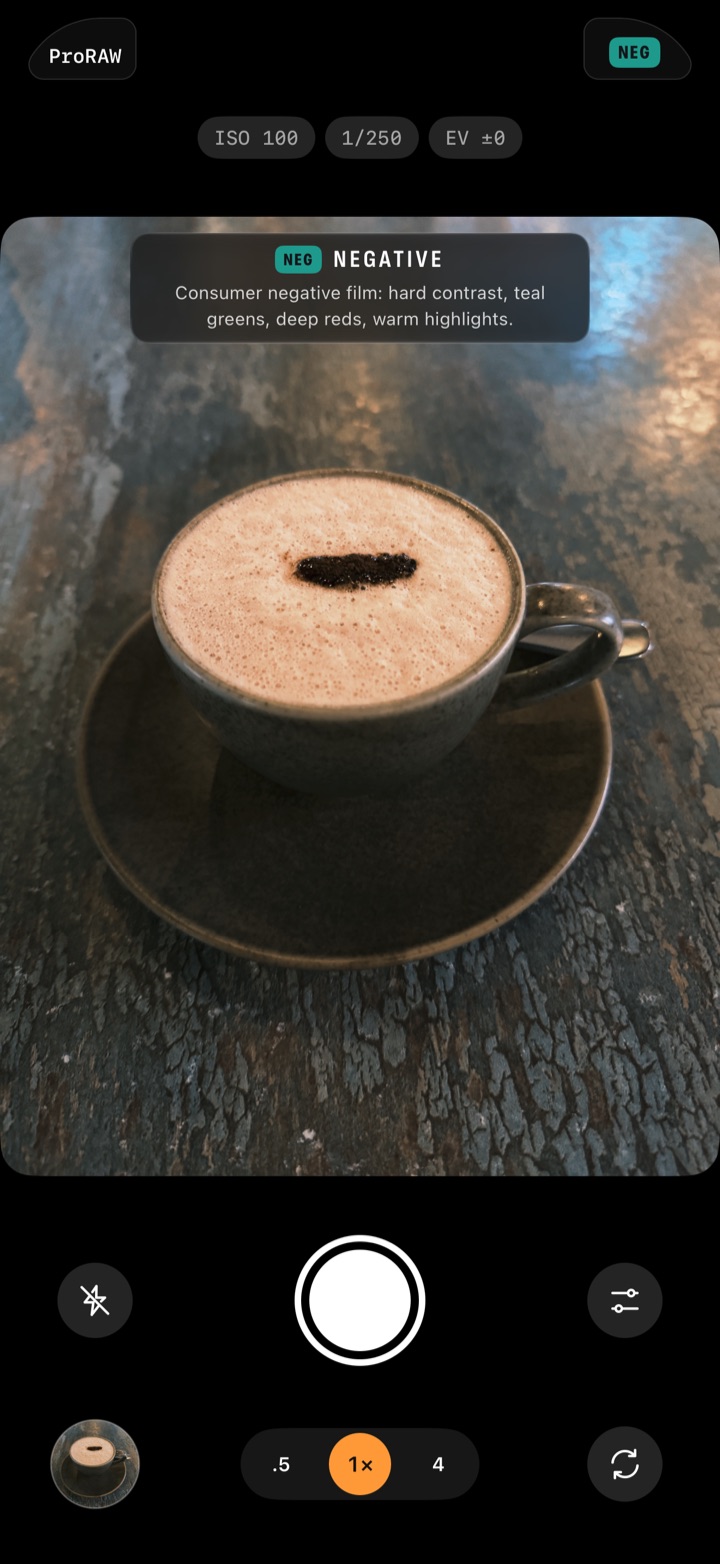
You can also tap the film's badge beside the island, or open Controls › Film. You get a row of every film. The one you select is applied. Manage Films lets you create new films, edit, reorganize and share them.
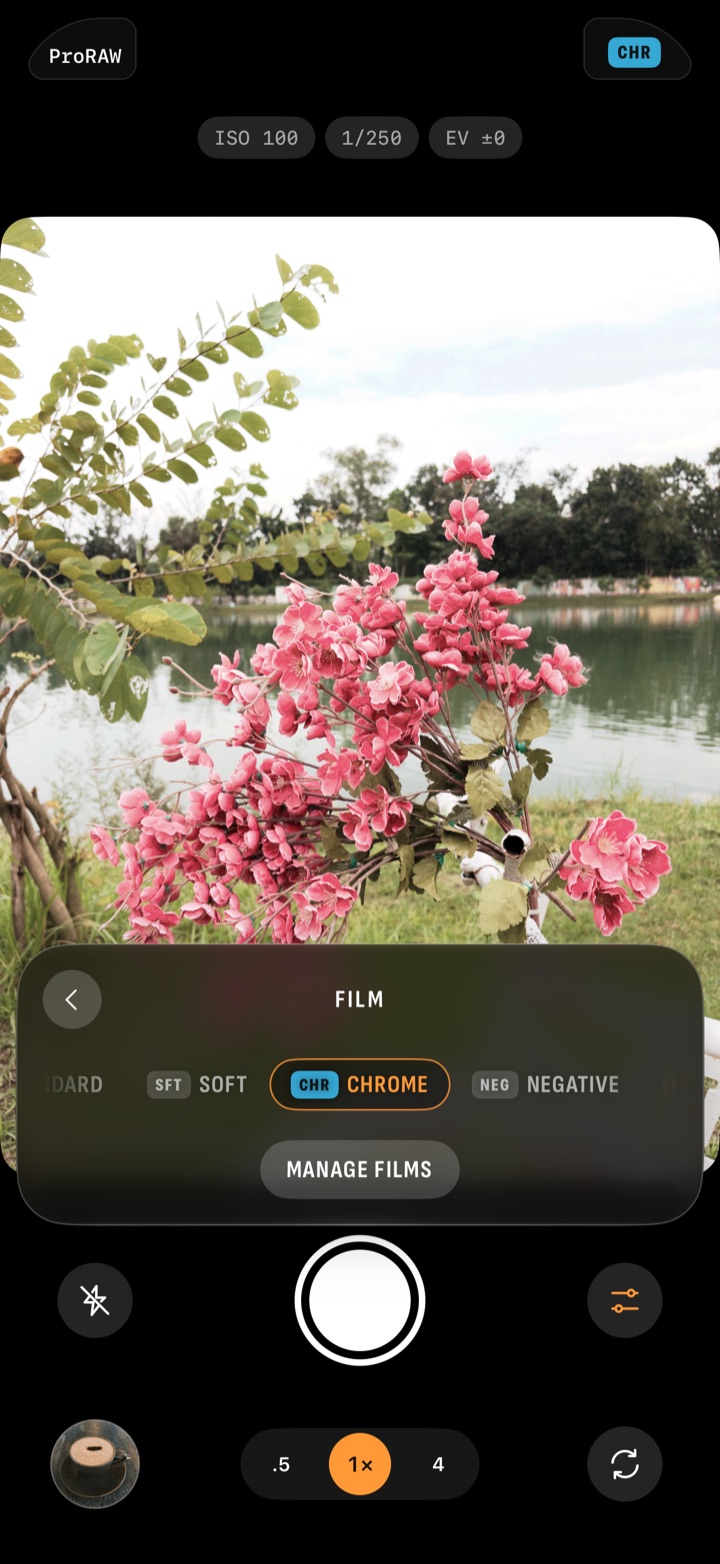
Sometimes you want to see the scene without the film. In Controls › Film, touch and hold any film's name. The film comes off, and the picture says WITHOUT FILM. Let go, and the film is back. The change film help page has these steps.
You can always pick another film and adjust its strength later in the editor.
Simplified Exposure controls
The camera doesn't ask you to choose a mode (PSAM). You can set ISO and shutter speed by hand, or leave them on Auto. When one of them is on Auto, the camera keeps setting it for you.
| ISO | Shutter | The camera sets | EV |
|---|---|---|---|
| Auto | Auto | ISO and shutter | Makes the photo brighter or darker |
| Set | Auto | The shutter | Changes the shutter |
| Auto | Set | ISO | Changes ISO |
| Set | Set | Nothing | Shows how far you are from the meter. You can't change it. |
Sometimes the camera can't go far enough. Then the value it sets turns red. Say you set the shutter to 1/2000 s and push EV to +3 in a dim room. ISO can't go that high, so the ISO value turns red.
- Tap ISO or the shutter speed in the exposure line. A dial opens.
- Slide the dial sideways to change the value.
- Tap Auto on the dial to give that value back to the camera.
A value you set by hand turns orange in the exposure line. The dial's range depends on your phone and lens.
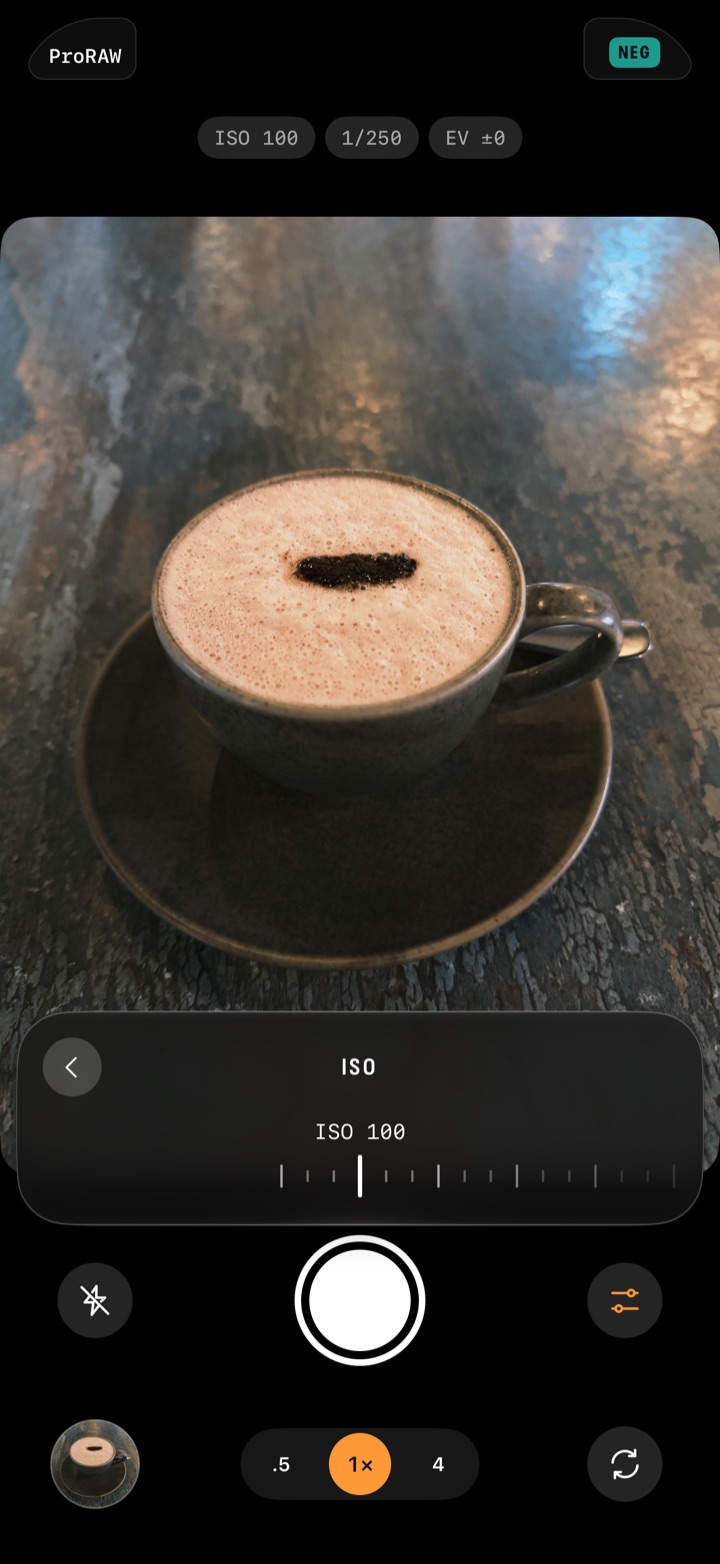
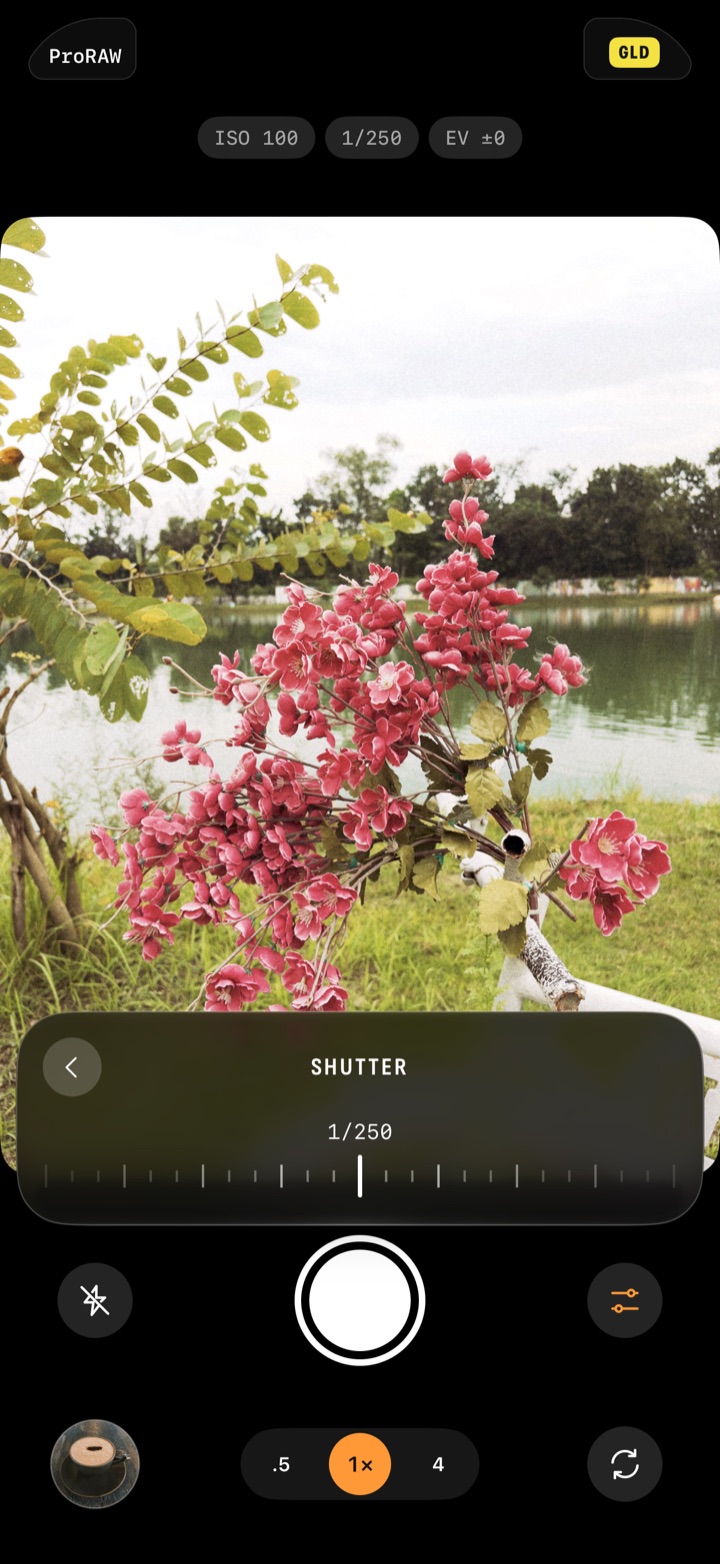
Tap the picture, then drag up or down to make it brighter or darker. For a dial, tap EV in the exposure line. The exposure help page has more.
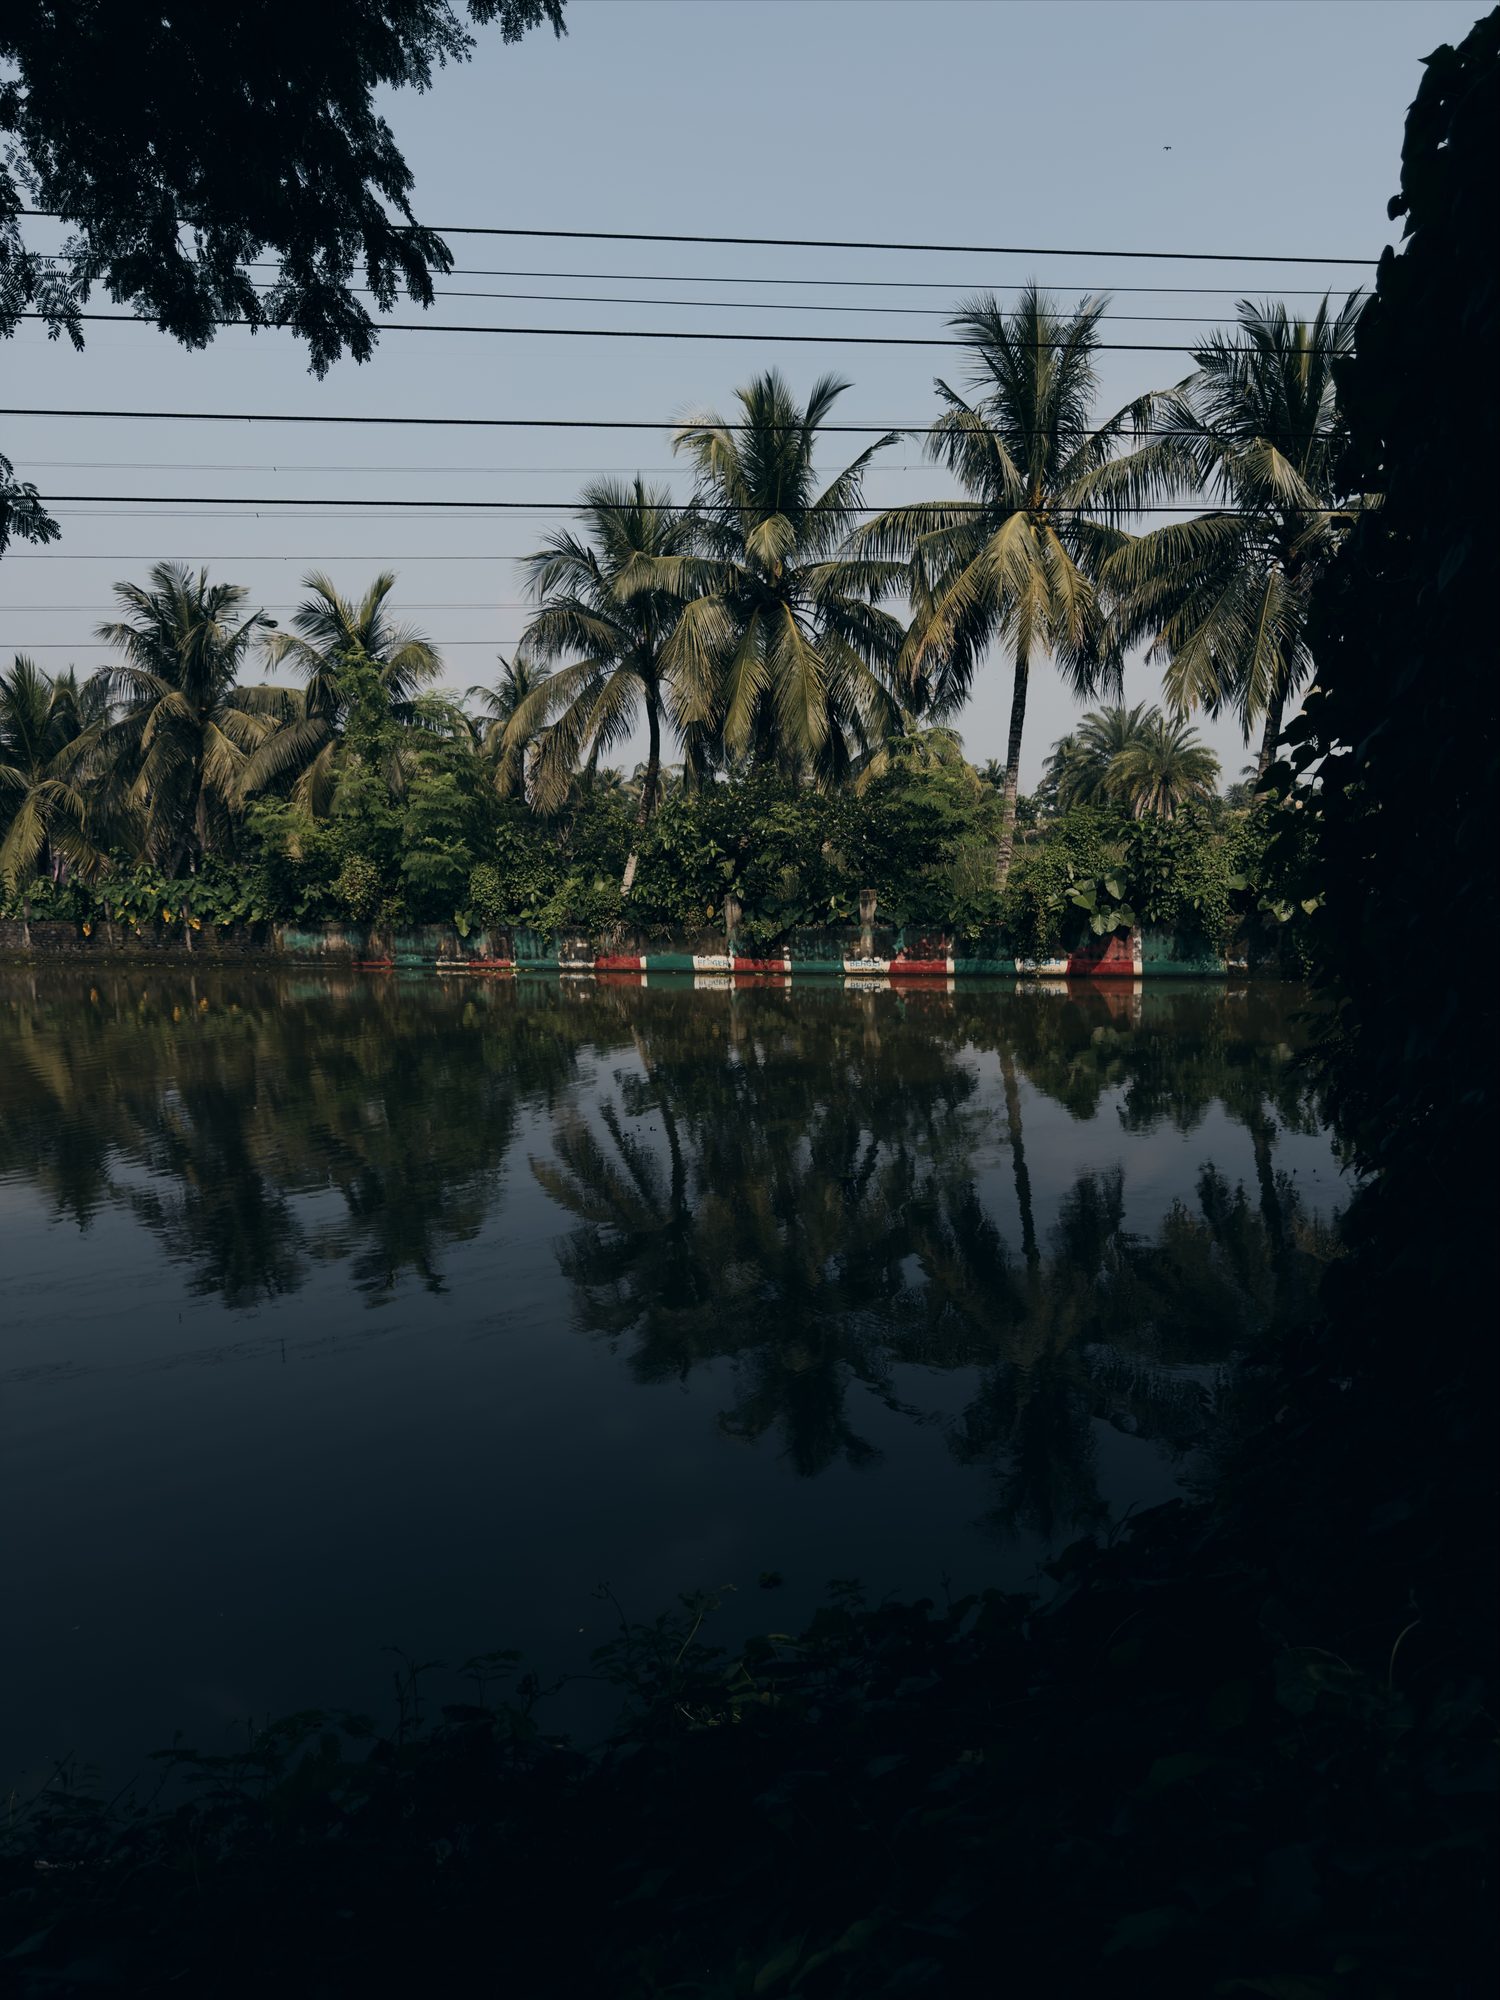
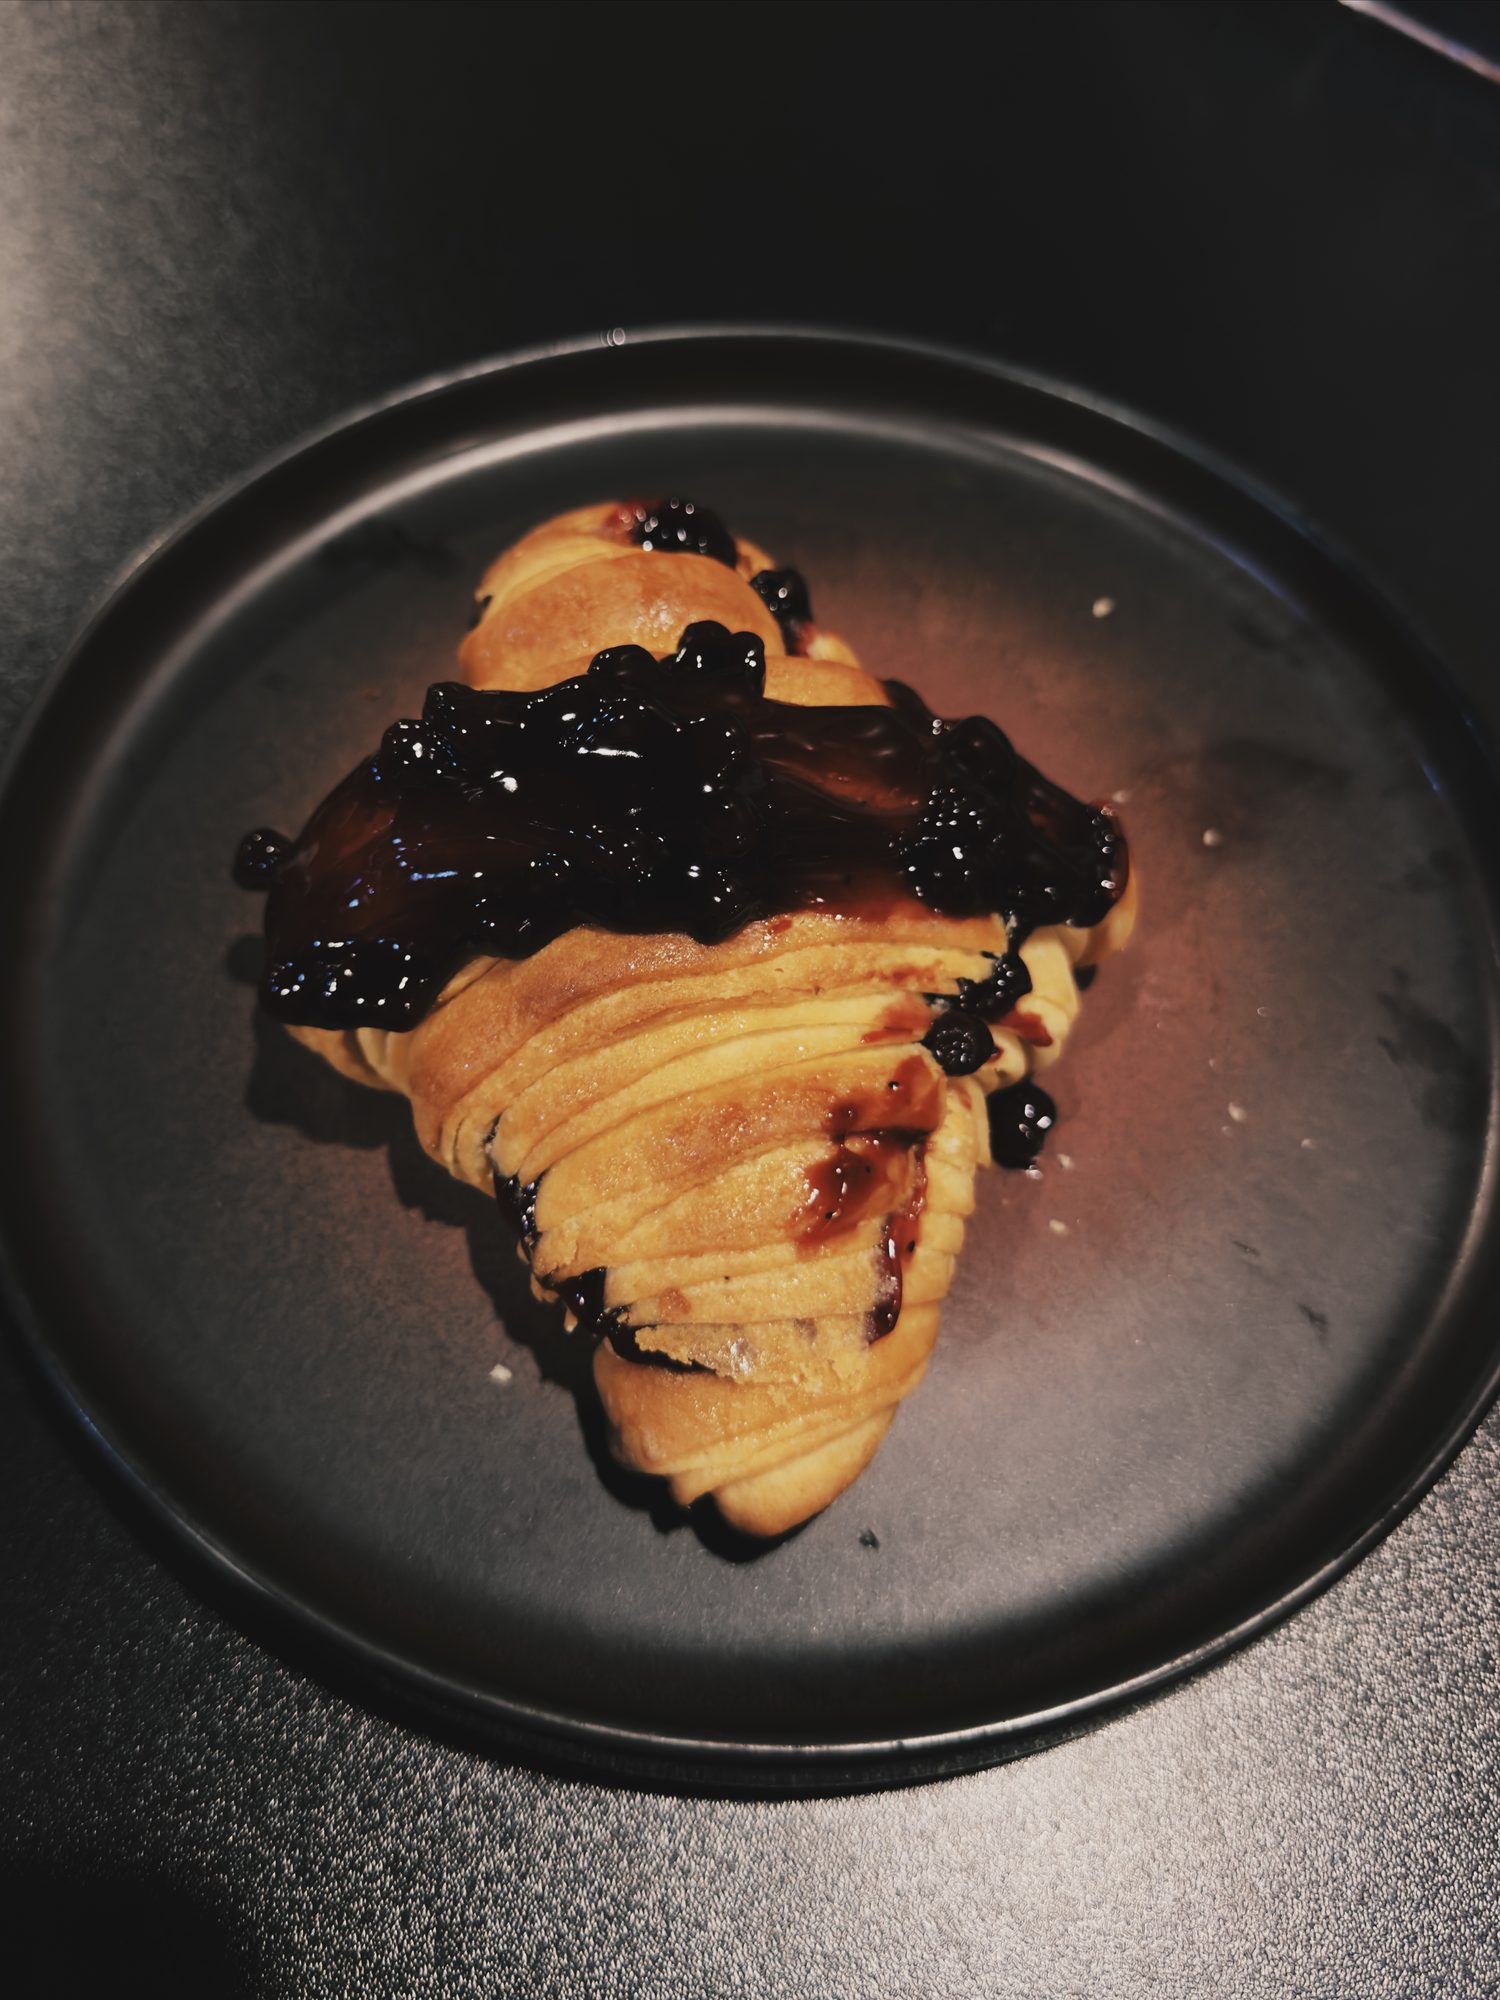
If a face comes out too dark, brighten it later in the editor with Light. To brighten only the face, use a mask. Chobial finds each face in the photo, so the change goes on the face and nothing else. The masks help page has the steps.
Light Metering and Focus
Tap the picture to set focus and metering there. A frame marks the spot, with a sun beside it. People and pets get thin white corners. Tap inside them and the corners turn green, so focus and exposure follow that person or pet.
To lock focus and exposure, touch and hold the picture. AE/AF LOCK shows until you tap again. If you set exposure by hand, the badge says AF LOCK instead. That means only focus is locked, because the exposure is already yours. A tap, another lens or focusing by hand lets the lock go.
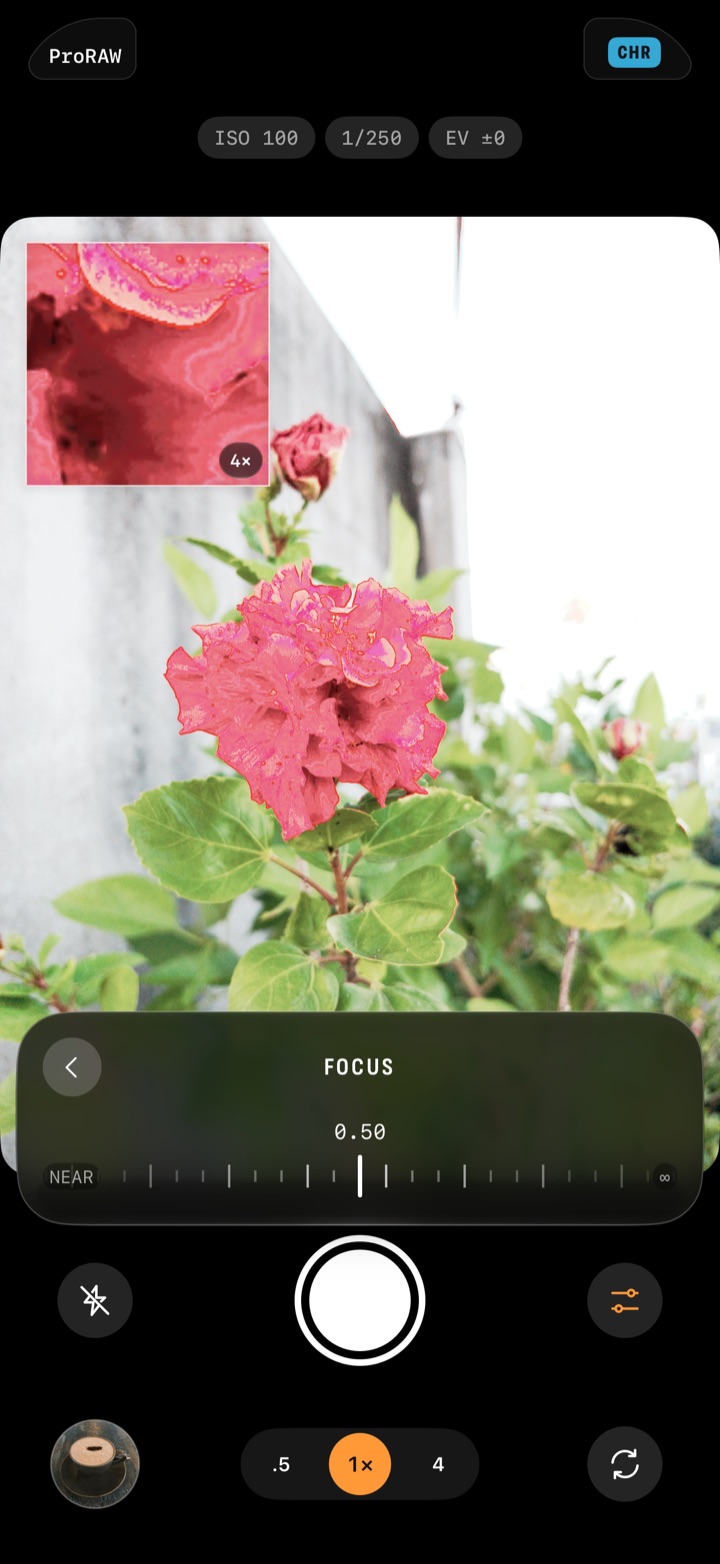
For manual focus, open Controls › Focus and slide between NEAR and ∞. A loupe makes the spot bigger. Focus peaking draws red lines on the sharp edges. Auto gives focus back. The help page has more on focusing by hand.
Display assists
Display assists are helpers drawn over the viewfinder. They show up on screen but never in the photo. Turn them on in Controls › Guides. An assist that's on turns orange there.
- Grid: lines that split the picture into thirds, to help you place things.
- Level: a line that tilts with the phone and turns orange when the phone is straight.
- Histogram: a small graph in the corner that shows how bright the picture is. The histogram post explains how to read it.
- Zebras: stripes over the parts that are about to turn pure white. You choose when they start in Settings › Zebras.
Controls › Frame draws frame lines for 4:3, 3:2, 1:1, 16:9 or 65:24, the wide XPan shape. The part outside the frame gets darker. Chobial still saves the whole sensor, so you can change the crop later.
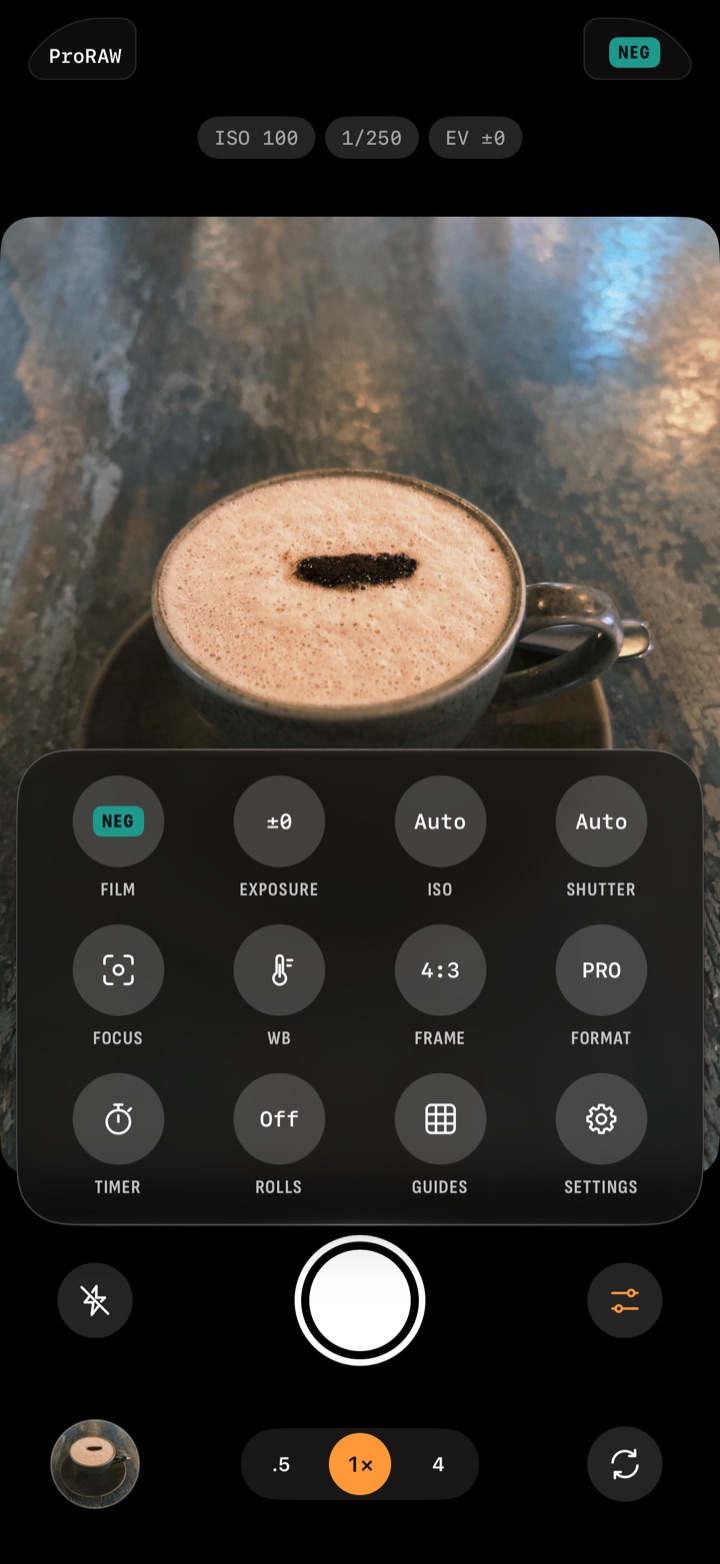
Choosing a Format
Chobial shoots RAW by default. That's ProRAW on Pro iPhones from the 12 Pro, and RAW on other lenses that offer it. You can also pick HEIF or JPEG, and the films develop those too. Where a camera has no RAW, Chobial takes HEIF.
To switch, tap the format beside the island, or the Format tile. Settings › Photo Size sets 12, 24 or 48 MP. Every photo keeps its original, so it can take any film later. The RAW vs HEIF post compares the two.
Shutter Control
- Timer: the Timer tile waits 3 or 10 s.
- Camera Control: click it to shoot. Light-press twice to pick Film, Exposure, ISO or Shutter, then slide.
- Volume buttons: they take a picture too.
- Apple Watch: keep Chobial open on the iPhone. The watch shows the live view, with a shutter and a timer.
- Buttons: in Settings › Buttons, choose what the camera's own buttons do. The one beside the shutter is Flash until you change it.
- Siri: say "Shoot Chrome with Chobial".
- Lock Screen and Control Center: add the Chobial control to open the camera from there.
The remote shutter help page has the steps.
Different Screens
- iPad: turn the iPad on its side. The camera's buttons move to one edge, and a column opens beside the picture. It shows the loaded film, the exposure and the histogram. The Controls panel stays open in that column, so ISO and shutter are always in sight. See Chobial for iPad.
- iPhone Duo: while you shoot on the inner screen, the outer screen shows the person you're photographing the picture, in the film. So they see the look before you press the shutter. Closed or half open, the camera has its own layout too. See Chobial for iPhone Duo.
- Android foldables: on a book-style foldable like the Galaxy Z Fold, the camera fills the whole inner screen. The cover screen shows your subject the picture, in the film. Half-fold the phone and stand it up for tabletop mode, with the picture on top and a big shutter below. See Chobial for Android.
On Android
Android is a closed beta on Google Play, for Android 12 and up. It shoots RAW (DNG), HEIF and JPEG, but there's no ProRAW. The volume keys take the picture, and holding one locks focus and exposure. There's no Camera Control, Apple Watch remote or Siri. See Chobial for Android.
The Editor
You shot it in one film. Later, open the same photo and pick another film, or turn the grain down. A face that came out dark gets brighter from the RAW with Light. Everything you shot here is ready in the editor.