1. Open the photo
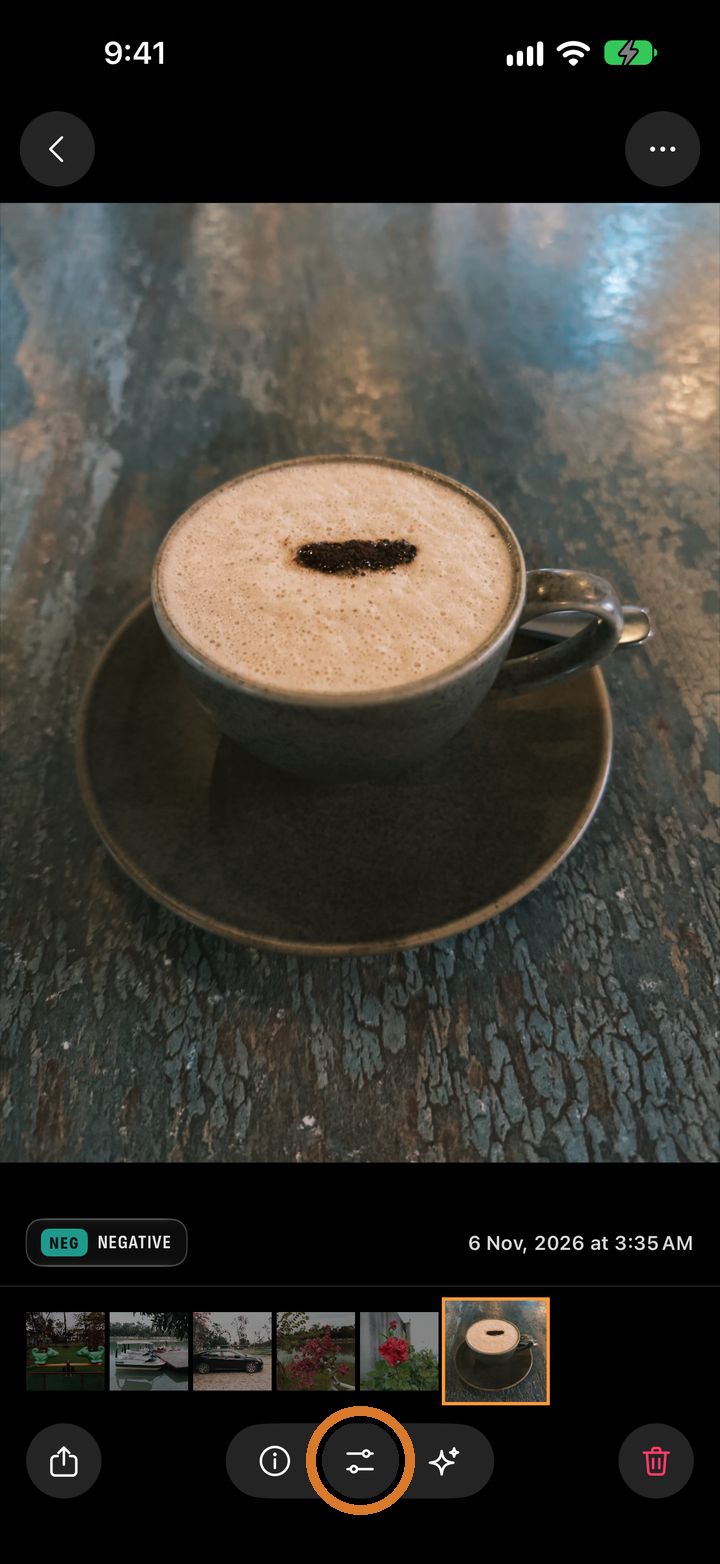
Tap your latest photo at the bottom left of the camera. Then tap Edit, the sliders button in the middle of the bottom bar. For an older photo, tap back to see your library.
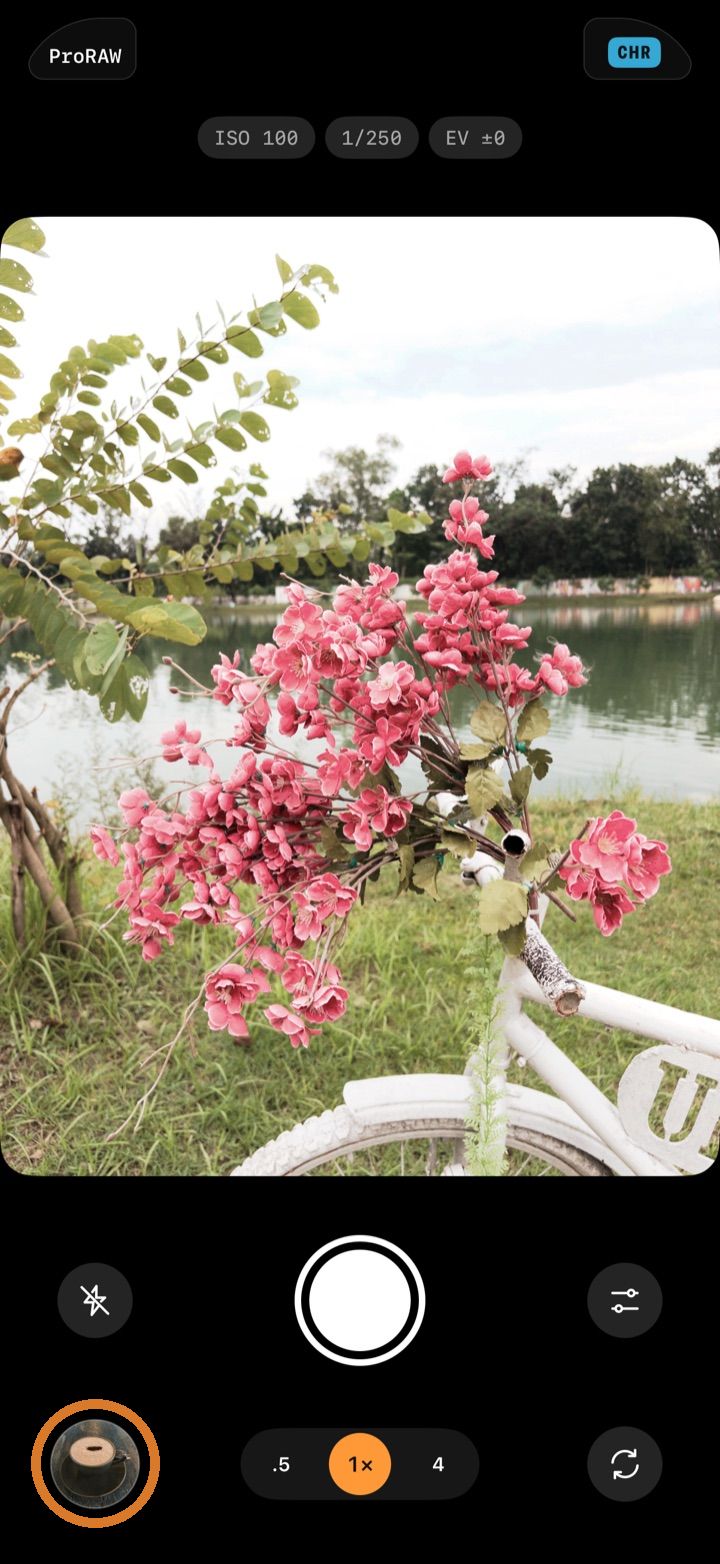
- 1In the camera, tap your latest photo.
- 2Tap Edit.
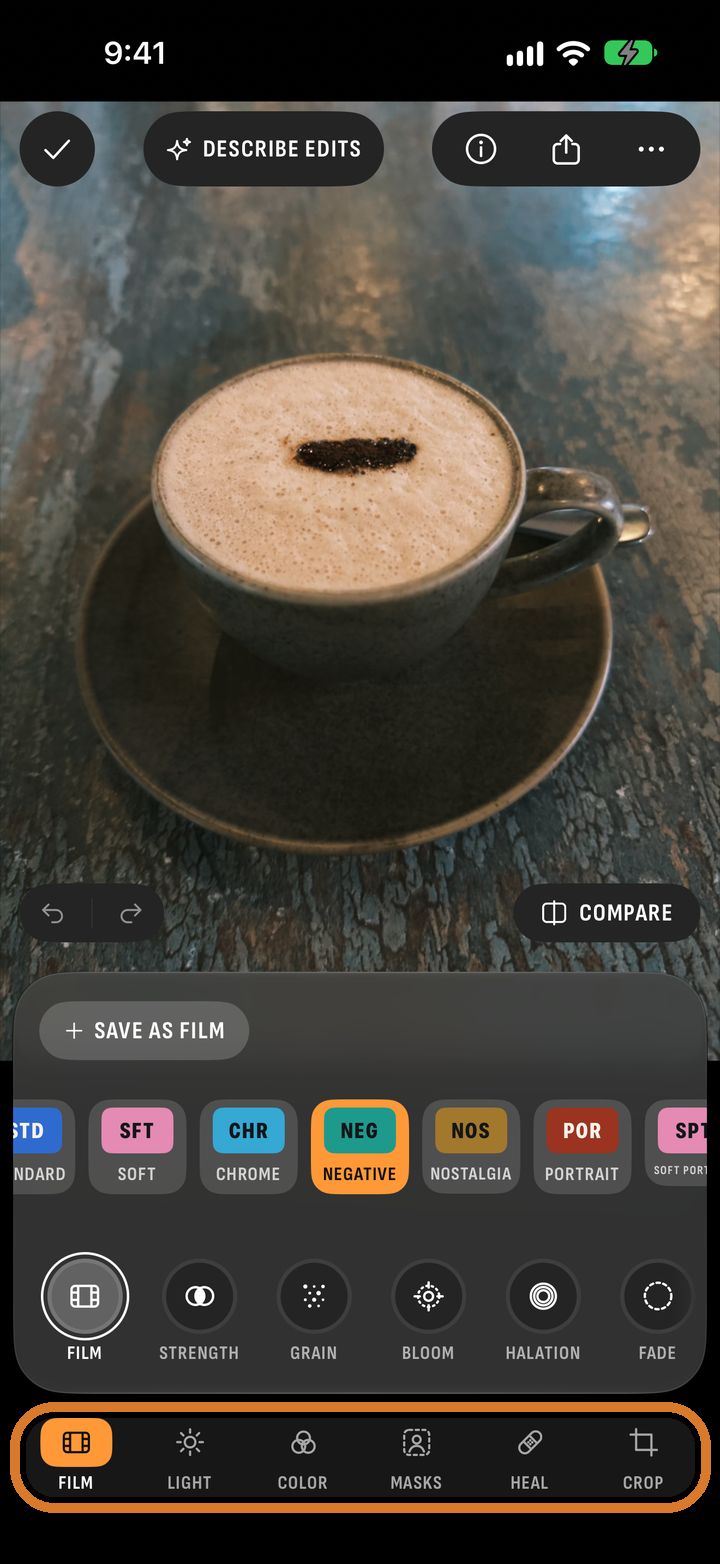
- 3Pick a tool along the bottom.
The tools are along the bottom: Film, Light, Color, Masks, Heal and Crop. An orange dot means a tool has changed the photo. Hold a tool to see the photo without it. Compare shows before and after.
- 1In the camera, tap your latest photo.
- 2Tap Edit.
- 3Pick a tool along the bottom.
2. Film
Tap another film, and the photo is developed again from its original.
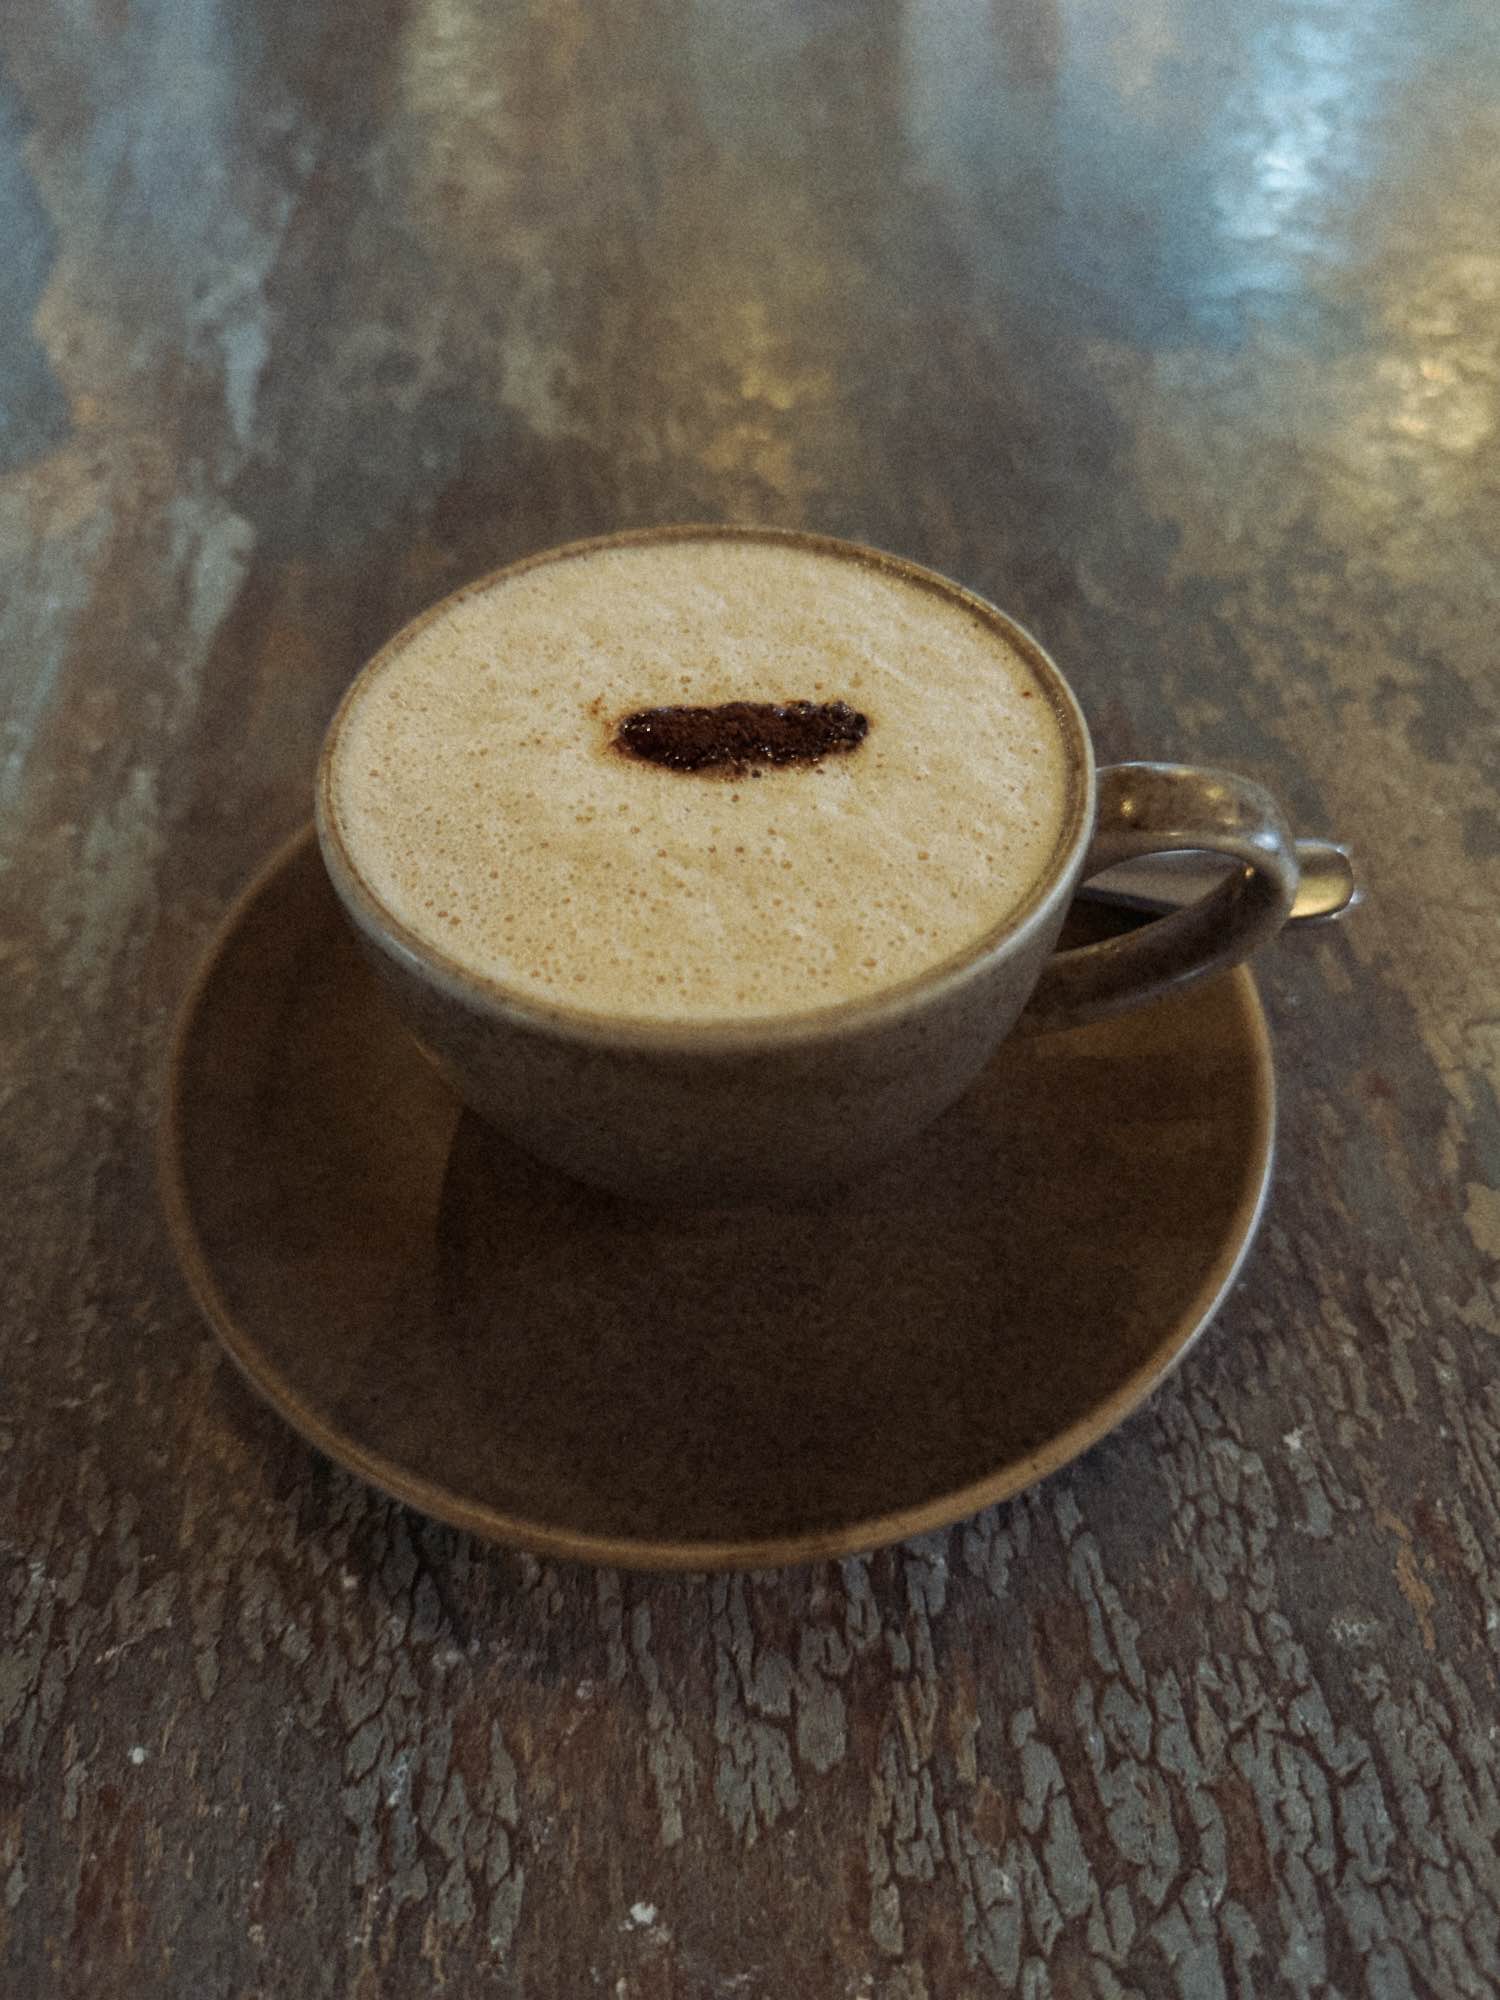
Under the films are the sliders: Strength, Grain, Bloom, Halation, Fade, Clarity, Dehaze and Sharpen. The halation post explains what halation is. These sliders change this one photo. The film itself stays the same.
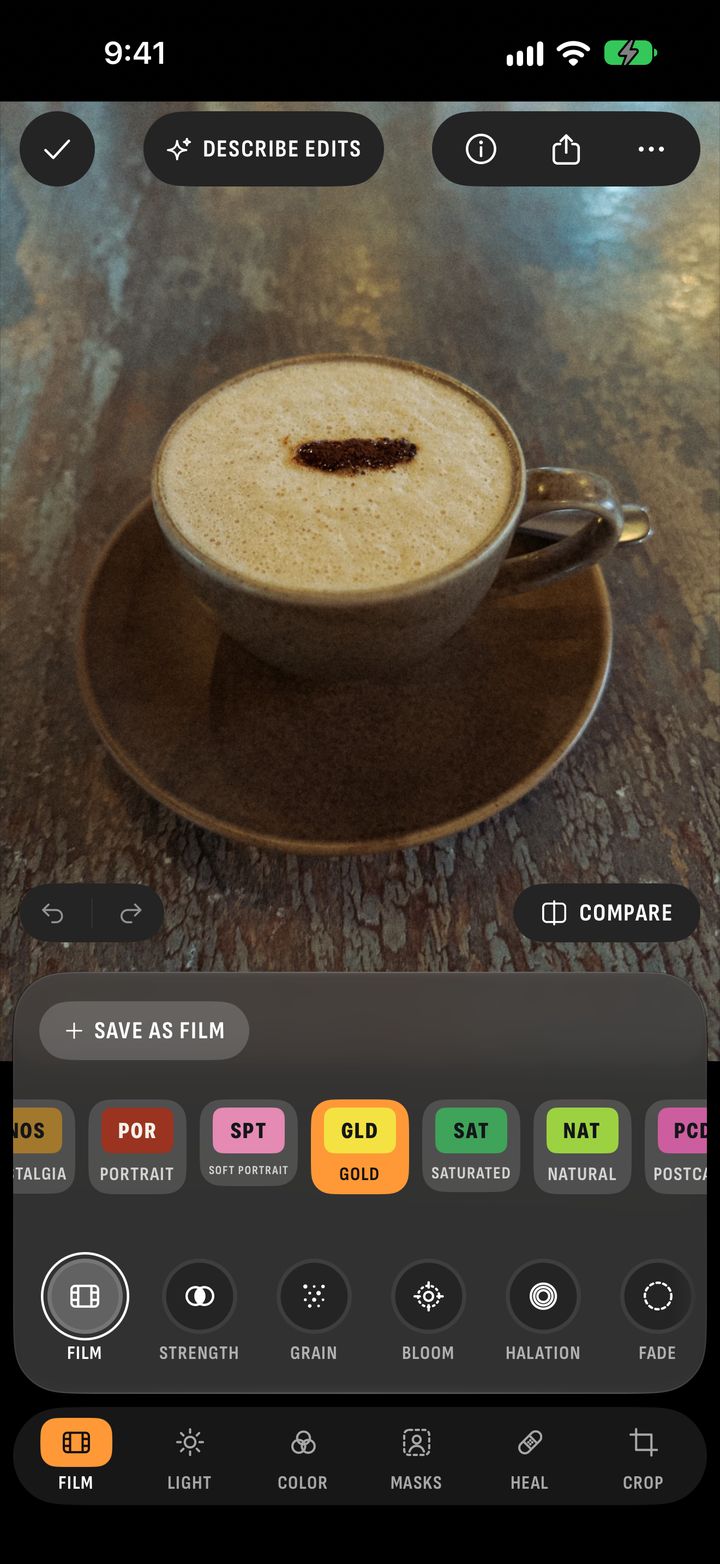
On the camera, the film was live in the viewfinder. Here you can pick another one, or turn its strength down.
3. Light
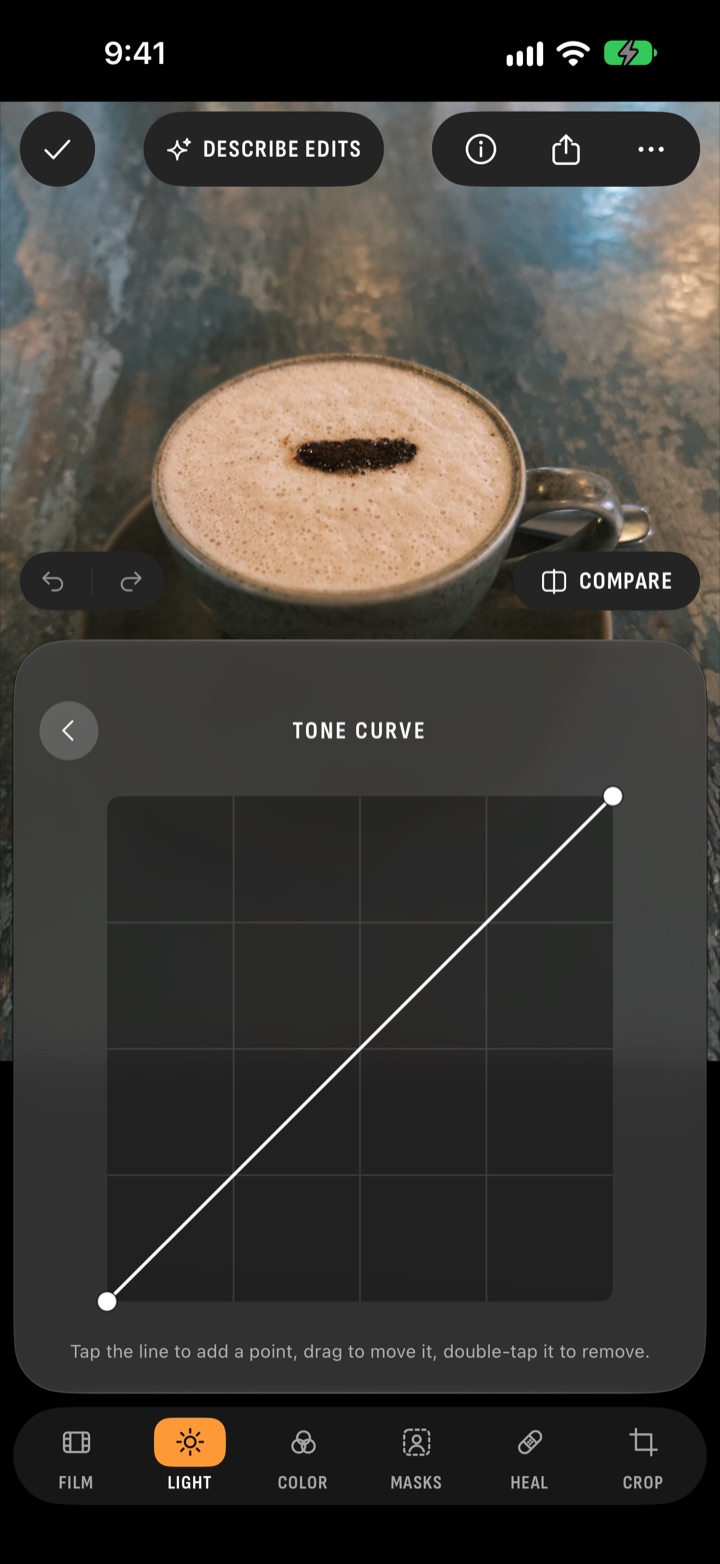
Light has Exposure (−3 to +3), Contrast, Highlights, Shadows, Whites and Blacks. Auto sets exposure, highlights and shadows for you. Curve opens a tone curve. The Light help page has more.
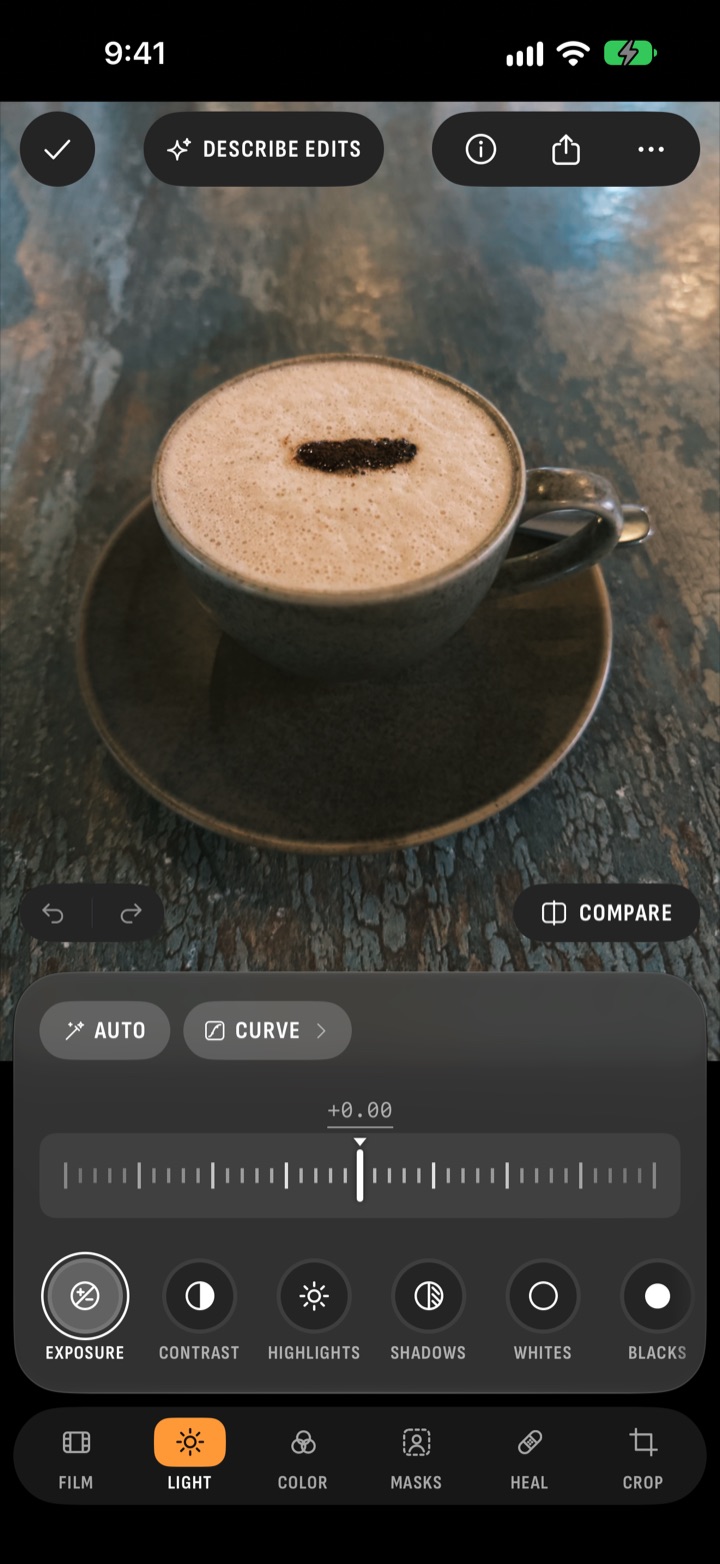
If the cup and saucer came out too dark, raise Exposure or Shadows. The RAW still has the detail.
4. Color
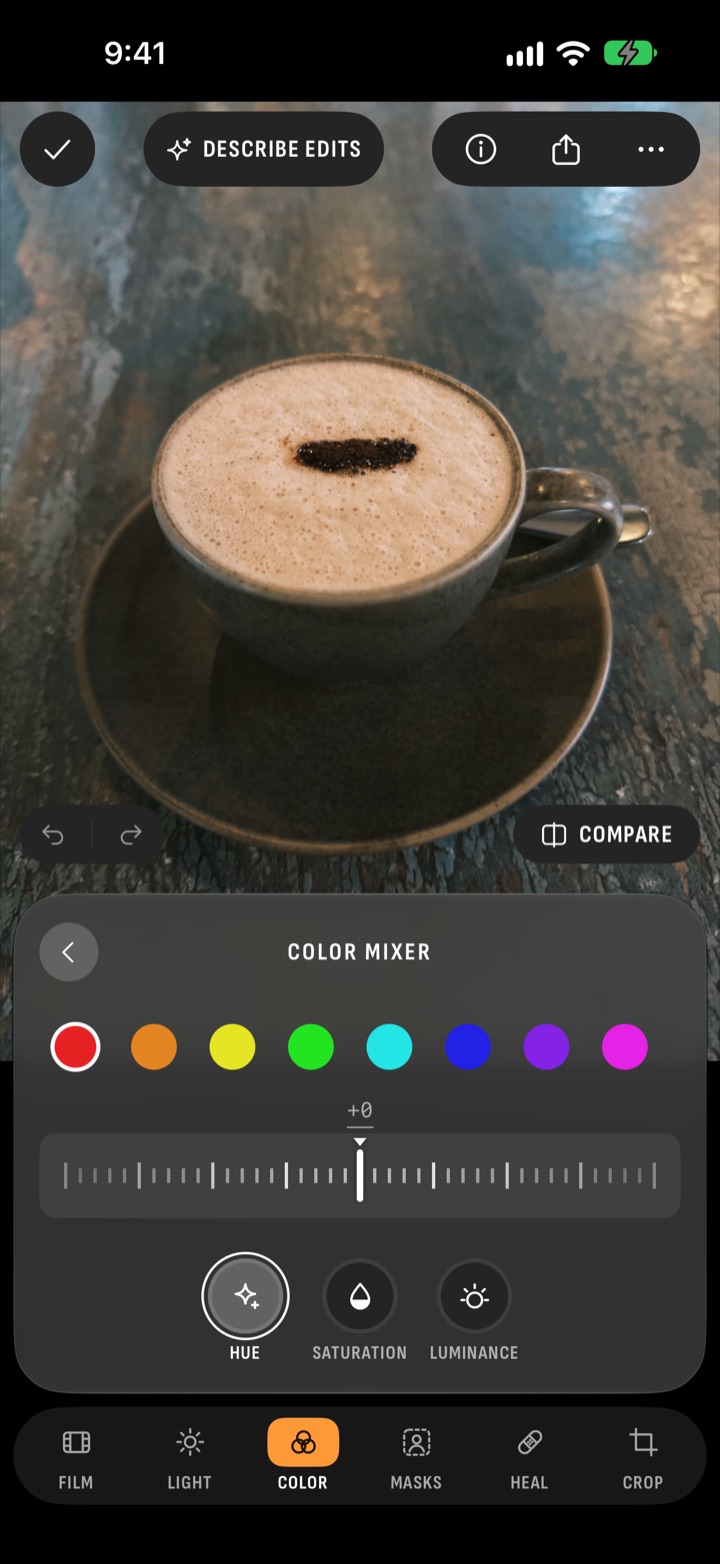
Color has Temperature, Tint, Vibrance and Saturation. It also has three pages:
- Mixer: eight colours, from Red to Magenta. Change the hue, saturation and brightness of each one.
- Grading: a hue and amount for the shadows, a hue and amount for the highlights, and Balance.
- Curves: colour curves.
5. Masks
A mask is a selection, so a change goes only on one part of the photo. Tap Masks › New mask. Chobial shows what it found: Subject, Sky, Background, People, and each person and face. It finds them on your phone. You can also paint with a brush, draw a gradient, or pick by colour or brightness. Then use the sliders, like Exposure or Temperature, on that part only. The masks help page has the steps.
6. Heal and clone
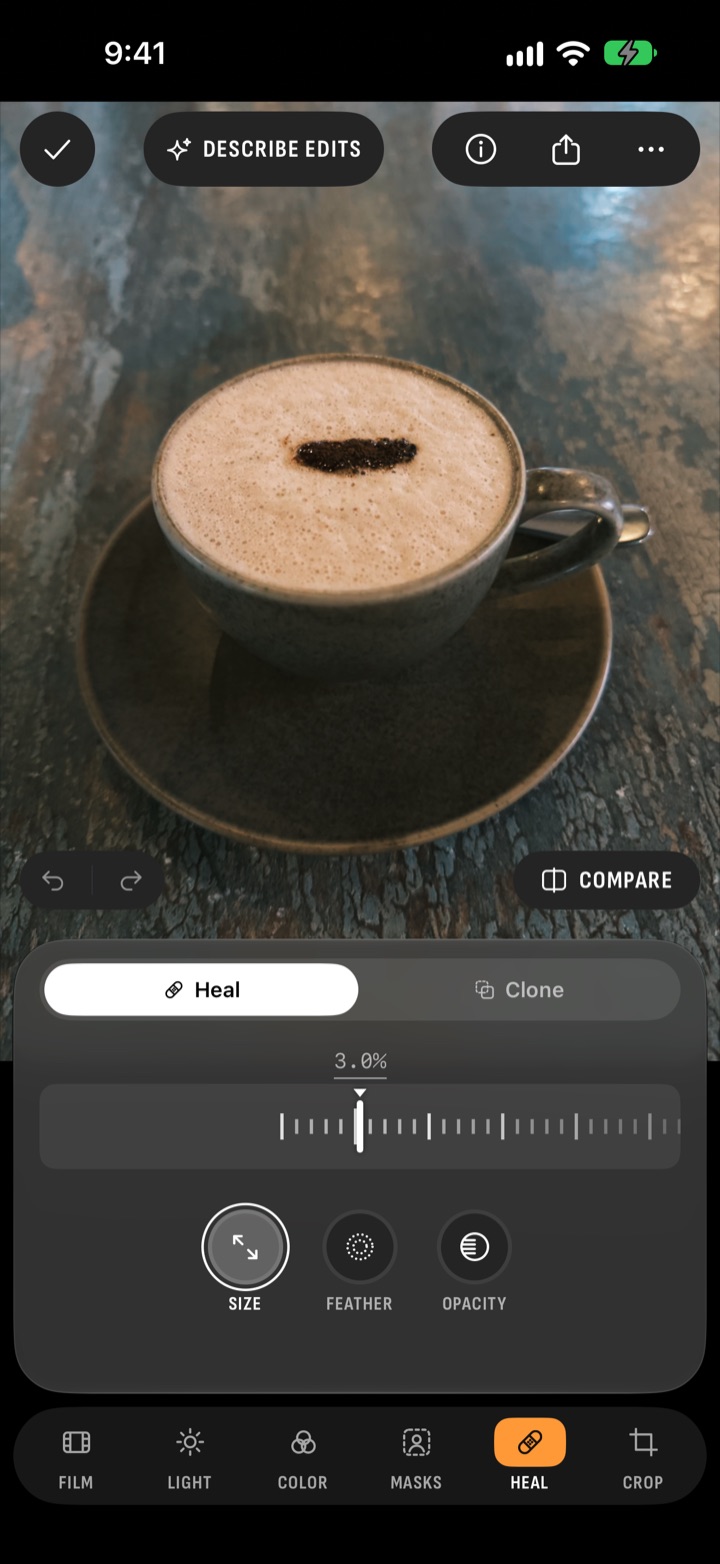
Heal removes a spot when you tap it, or a line when you paint over it. Clone copies one place over another. Drag the dashed circle to choose where it copies from. See the heal and clone page.
7. Crop
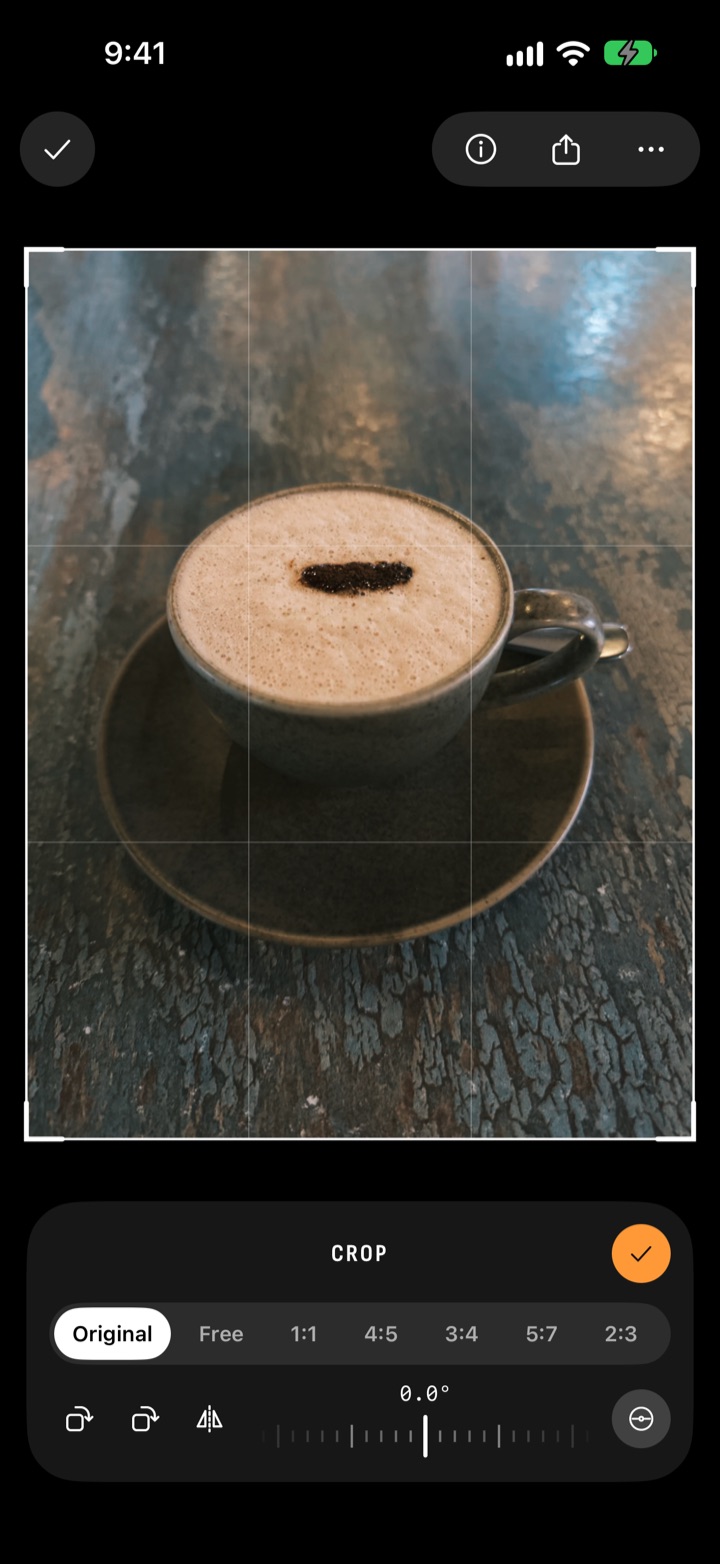
Drag a corner, or pick a shape: Original, Free, 1:1, 5:4, 4:3, 7:5, 3:2 or 16:9. Tap a shape again to turn it on its side. Rotate and Mirror are here too. Use the dial to straighten, or tap the level to straighten by the horizon.
8. Frames and export
Tap Export. Its tiles are Frame, Caption, Location, Format and Size. The frames are Off, Label, Border, Instant, Film Card and Negative. Format is JPEG, HEIC or RAW. RAW saves the developed picture with the original DNG attached. Size is Full Size, 2048 px, or Instagram (1440 wide). Then tap Save to Photos or Share.
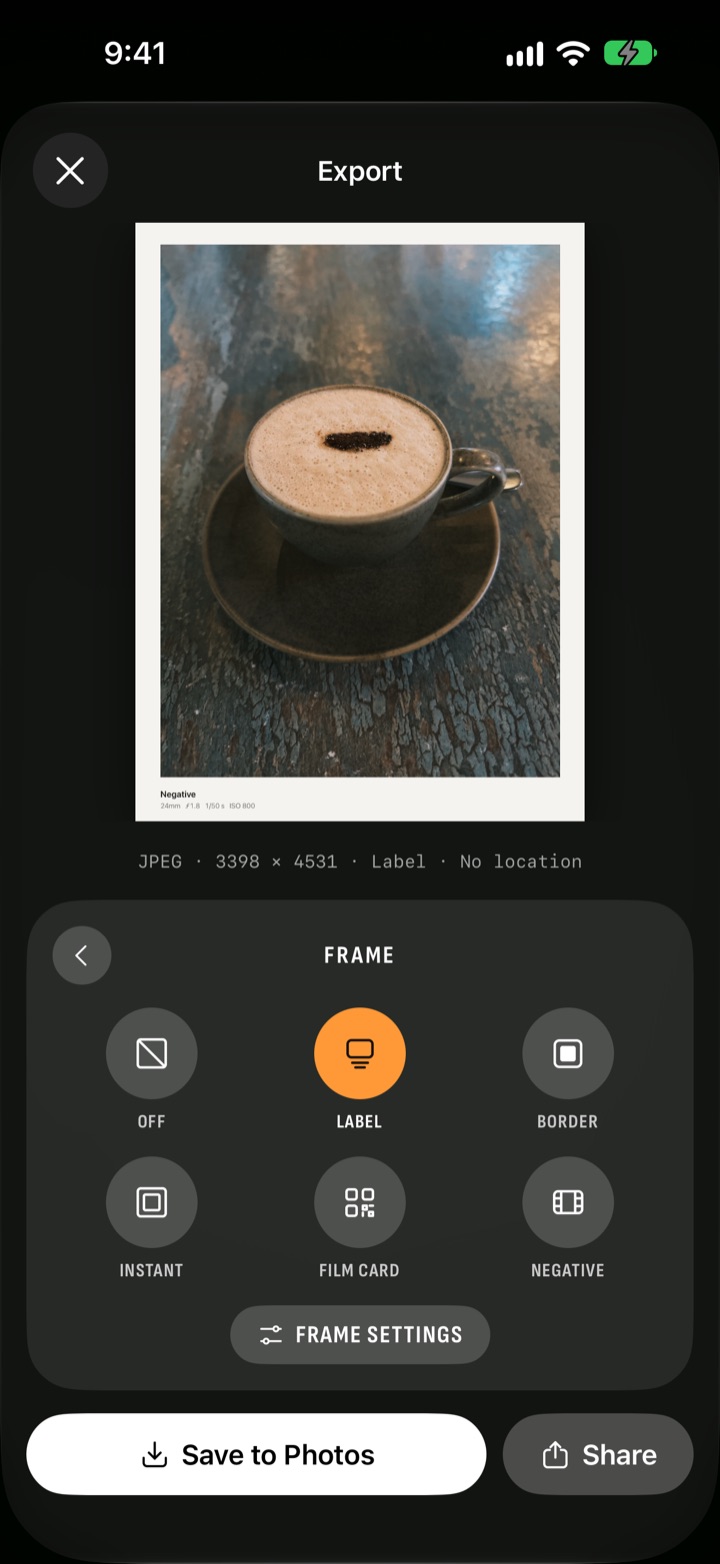
To save, Chobial asks only to add photos to your library. It can't see the photos already there. When you import, you pick the photos, and Chobial gets only those.
Describe Edits
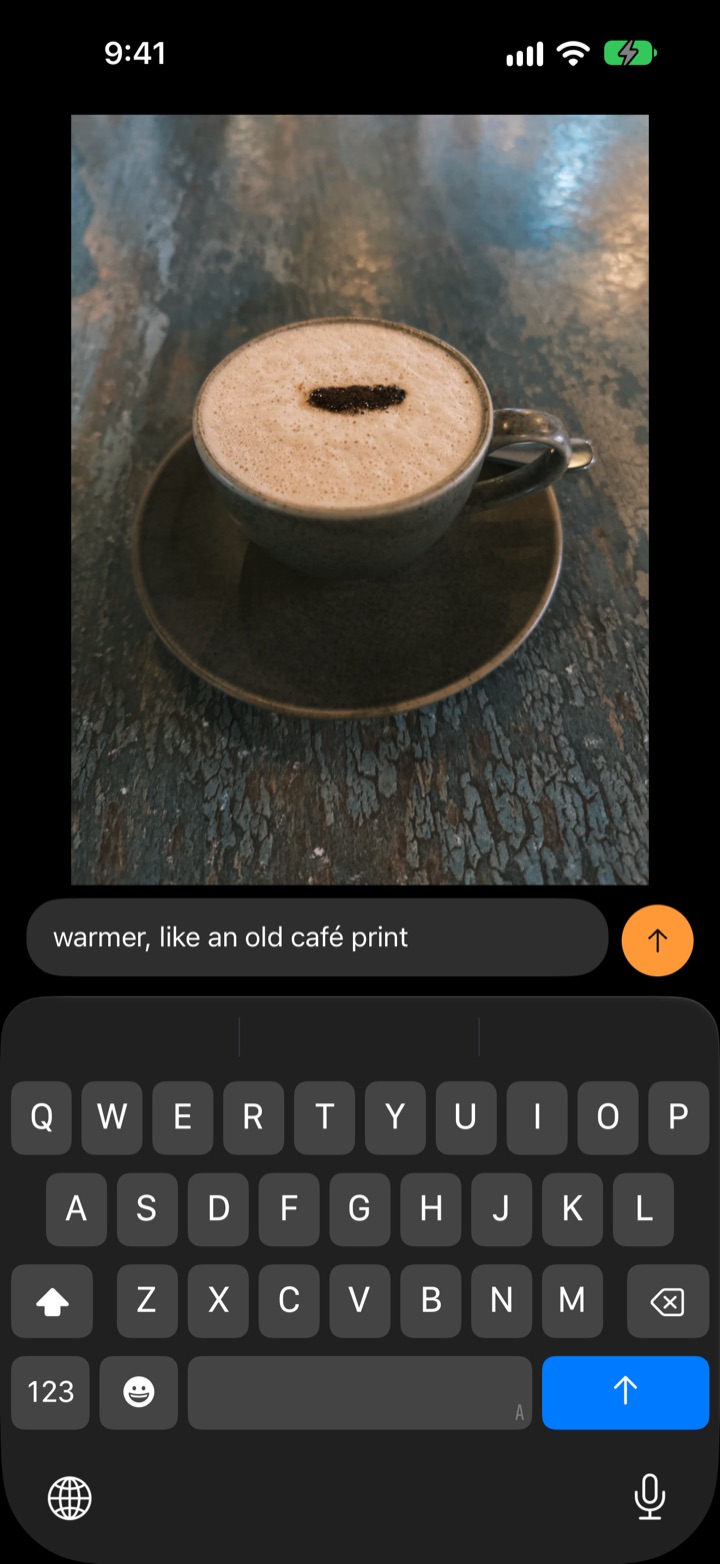
If you'd rather say what you want, tap Describe Edits. Type, or tap the microphone. "Warmer, and a bit brighter" turns into slider moves, shown as chips. Tap × on a chip to drop it, or use Weaker and Stronger. It can load a film by name, and change only the sky or a face.
Every change is an ordinary slider, and each photo keeps its conversation. On iPhone and iPad, it runs on Apple Intelligence on your device, and nothing is sent. On Android it uses Gemini Nano, where your phone has it. It's free and optional. Turn it off in Settings › Describe Edits, and its buttons go away. See the Describe Edits page.
Copy your edits to other photos
Tap ••• › Copy Edits, and choose what to copy. Then Paste Edits onto another photo. To paste onto many photos, tap Select in the library first. Every frame of a roll can go into another film at once with Develop Roll In… on its contact sheet.
Import external photos
Tap Import Photos at the top of the library. It brings in RAW files from other cameras, like RAF, ARW, NEF and CR3, plus ProRAW, HEIF and JPEG. Pick them in the Photos app or Files, or connect a camera or card reader with USB and pick Cameras and Cards. Chobial reads RAW files from most cameras, like Canon, Nikon, Sony, Fujifilm and Leica. If it can't read one, import the JPEG. On Android, it reads DNG, CR3, NEF, ARW and RAF.
RAW and ProRAW files work best. They have no look added yet, so the film develops the photo from the start. HEIF and JPEG photos work too, but they're finished pictures, so the film has less to work with. Photos you've already imported are marked, so you can bring in just the new ones.
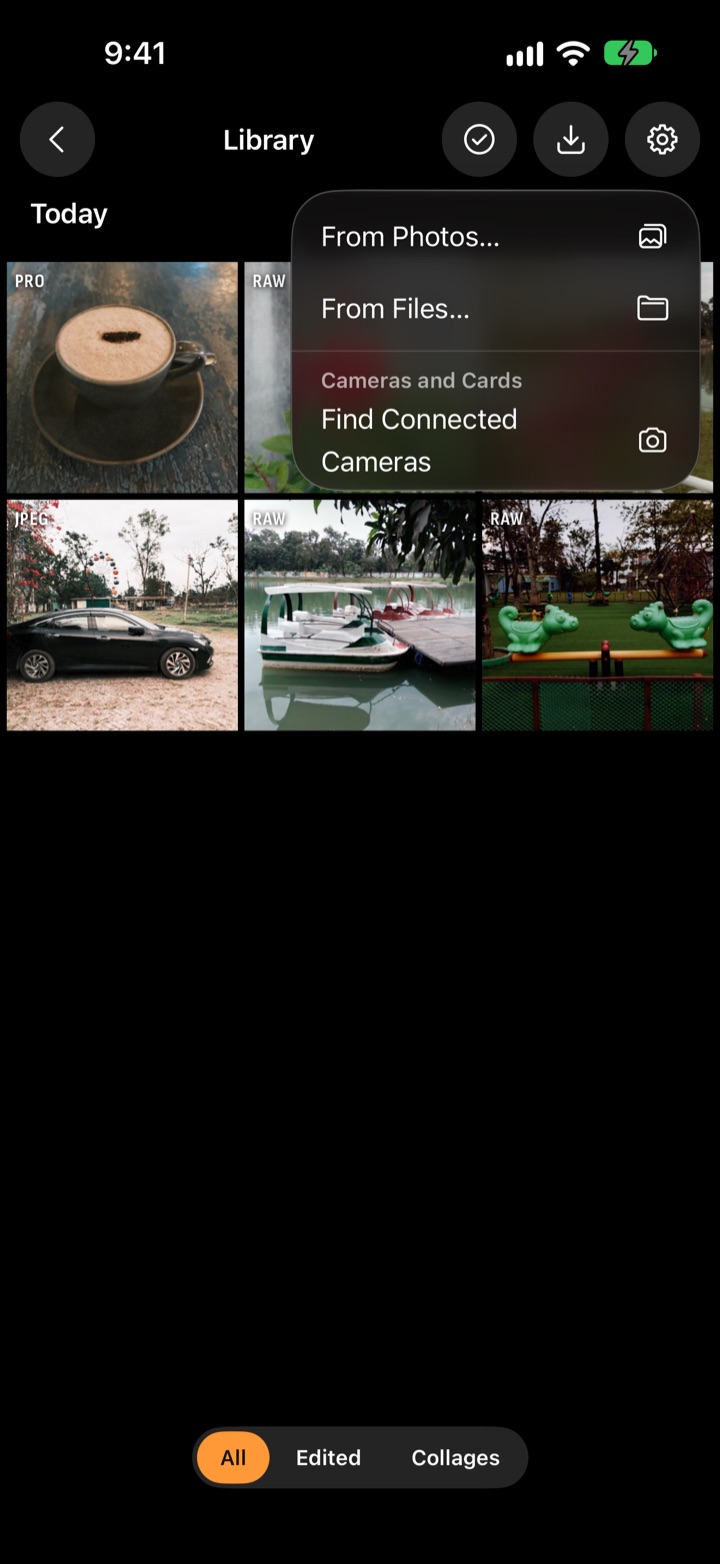
Old photos work too. The post on developing old photos again shows how.
Your own films
To open Films, tap Manage Films. It's at the end of the film row in the editor's Film tool, and in Settings. In Films, tap + › New Film. Its sections are Develop, Tone, Color, Effects, LUT and Info. You can also turn the edits on one photo into a film with Save as Film. A film can start from a .cube LUT or a Lightroom preset. A LUT is a table that maps each colour to a new colour. The LUTs help page has the steps.
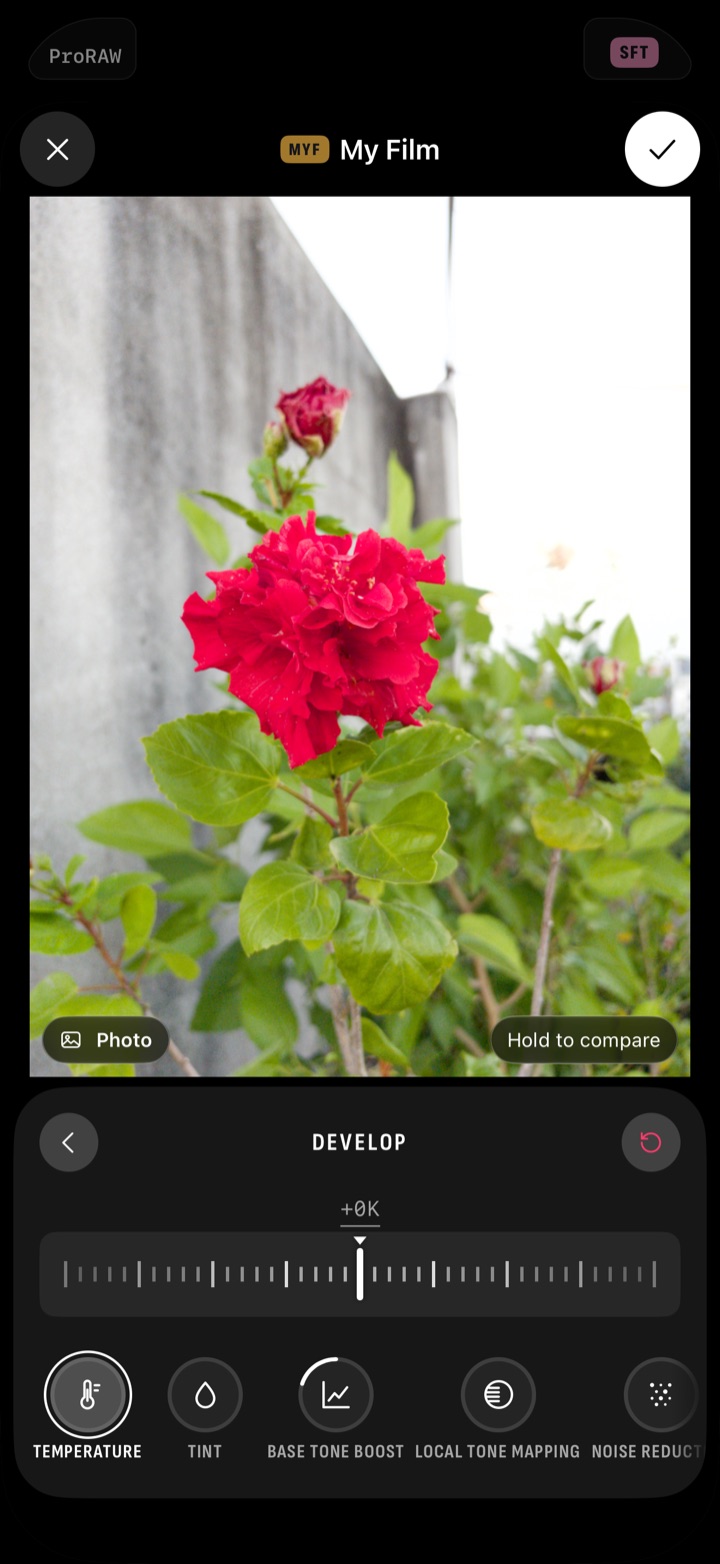
Your films go into the camera's film row, with My Films first. So you can shoot through a film you made. Share a film as a link, a picture or a file, for free.
Collages and reels
Select 2 to 36 photos and tap Collage. You can pick a layout, a film, a caption, a style and a size. For a reel, open a photo and tap ••• › Reel from Edits…, then pick a style. Reels are made from the photo's edits. Chobial doesn't shoot video.
Shoot on iPhone, edit on iPad
Your photos and edits sync over iCloud to every iPhone and iPad on your Apple Account. It's on by default. So you shoot on your iPhone and finish on the bigger screen. See Chobial for iPad. Android doesn't sync.
What's free and what needs Pro
Editing is free, and so are Describe Edits, importing and making films. You can try masks, heal and clone for free too. Saving a photo that uses them needs Pro. Without Pro, the photo saves without them. 22 of the 46 films save for free.
Pro also saves in the other 24 films, adds the original DNG, and saves several photos at once. It's $29.99 once, or $14.99 a year with the first week free. Those are US prices, and the store shows yours. Family Sharing works with the App Store purchase.
The camera
The editor starts with what you shot. In the camera, the film is live in the viewfinder, so you see the look before the shutter. You set ISO and shutter on a dial. Then every photo comes here with its original, ready for another film.